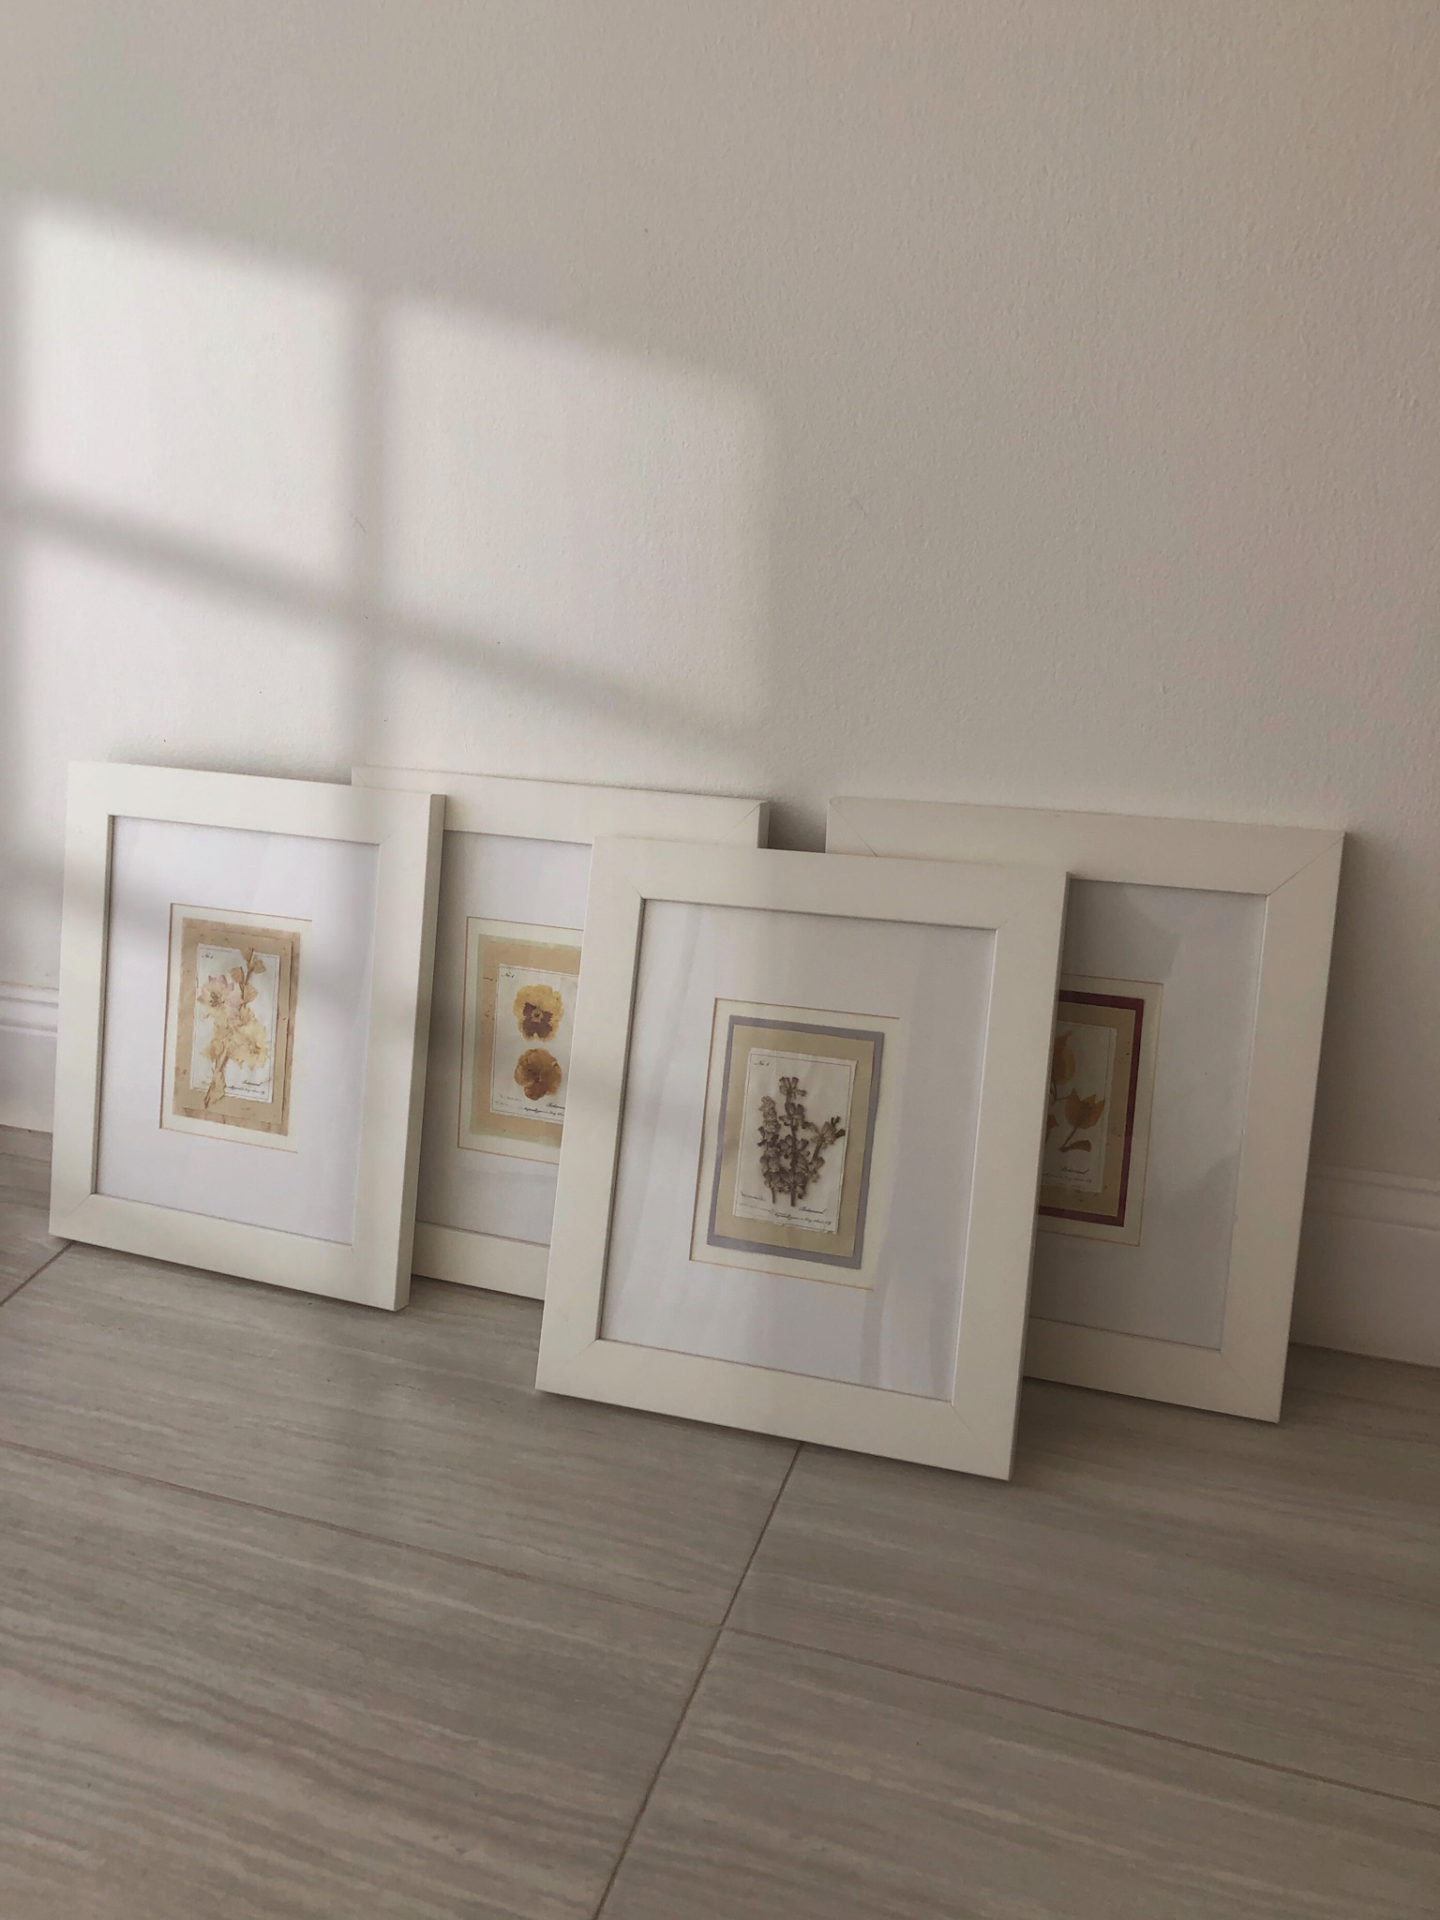
I wish I could take credit for this beautiful DIY, but all the accolades must go to my creative papa, Mr. Casiraghi.
I still remember him hanging these framed pressed flowers in my room when I was 16! Yes they have lasted that long. When I moved to Houston I took them with me but stored them away, trying to find the right spot for them in our condo. I’m hoping we can put them up this week.

Pressed Flower Card Framed DIY
What you need:
- 6 pressed flower cards
- 6 frames with mat
- 6 textured paper for mounting
- glue (light glue like a glue stick is fine) and or framing tape depending on the size of your frame.
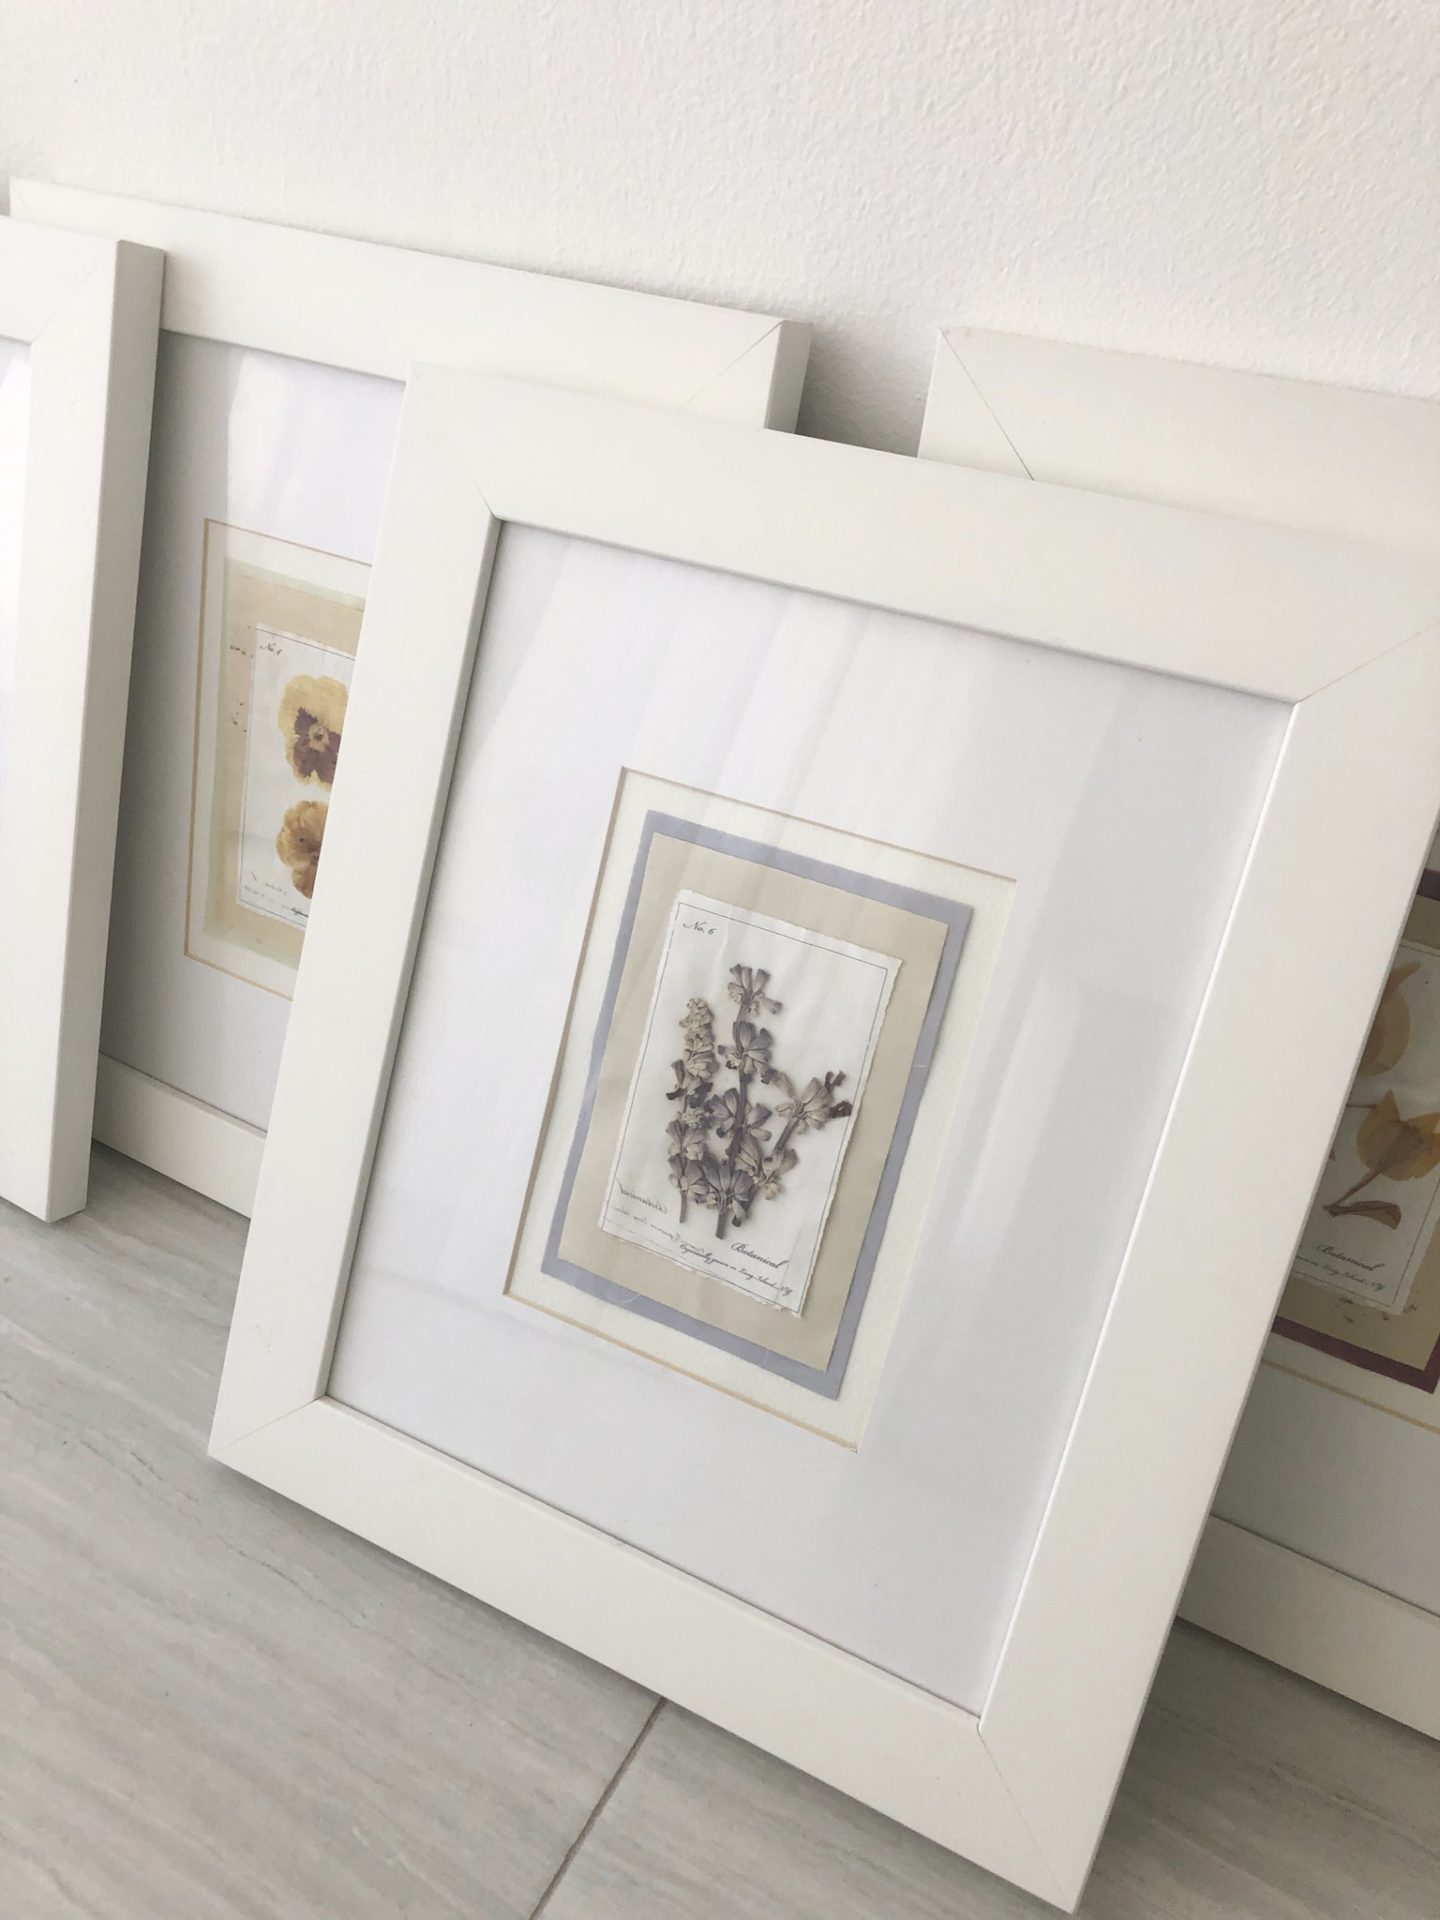
- Cut the mounting paper to the size of the frame fit it in the fame and make a light pencil mark so you know where to place the pressed flower card so that it will align with the frame “window display”.
- Evenly cut the front of the card separating it from the back.
- Glue the pressed flower to the mounting card.
- When dry place the mounting paper in the frame and secure the back.
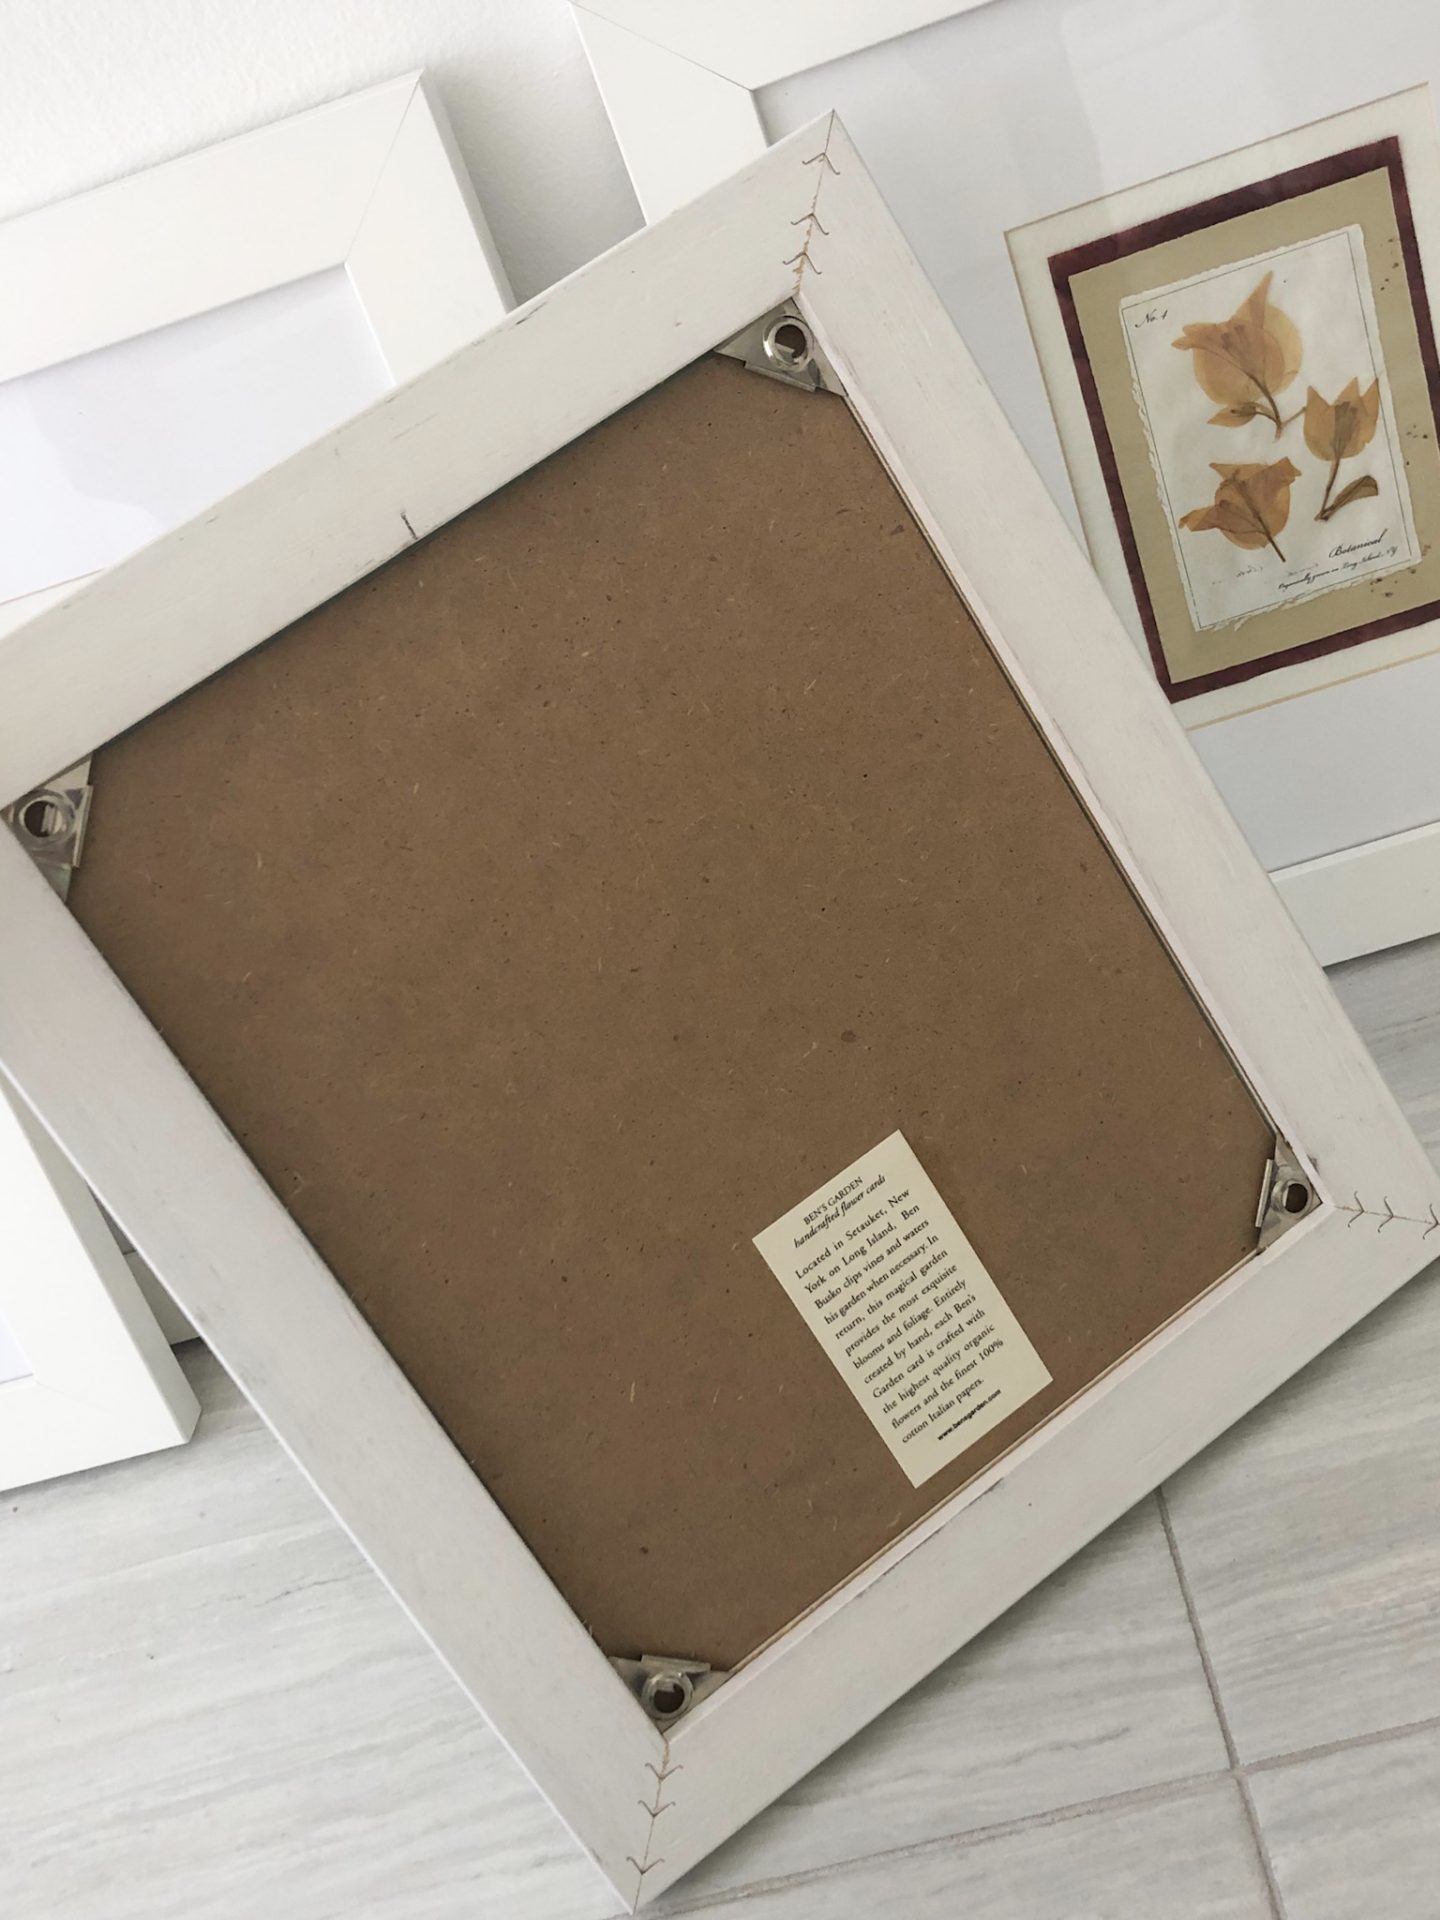
Optional: My dad cut out the information about the hand pressed cards and attached it to the back of the frame so we would have a reference about the “artwork” in the frame.
I looked up bensgarden.com to see if they had more pressed flower cards like these. While they do have a lot of speciality papers, cards, accessories etc.. I did not find any cards similar to these.
I found a video that has a step by step tutorial that I added below, if your frame already has a mat insert you won’t need to worry about purchasing it separately.