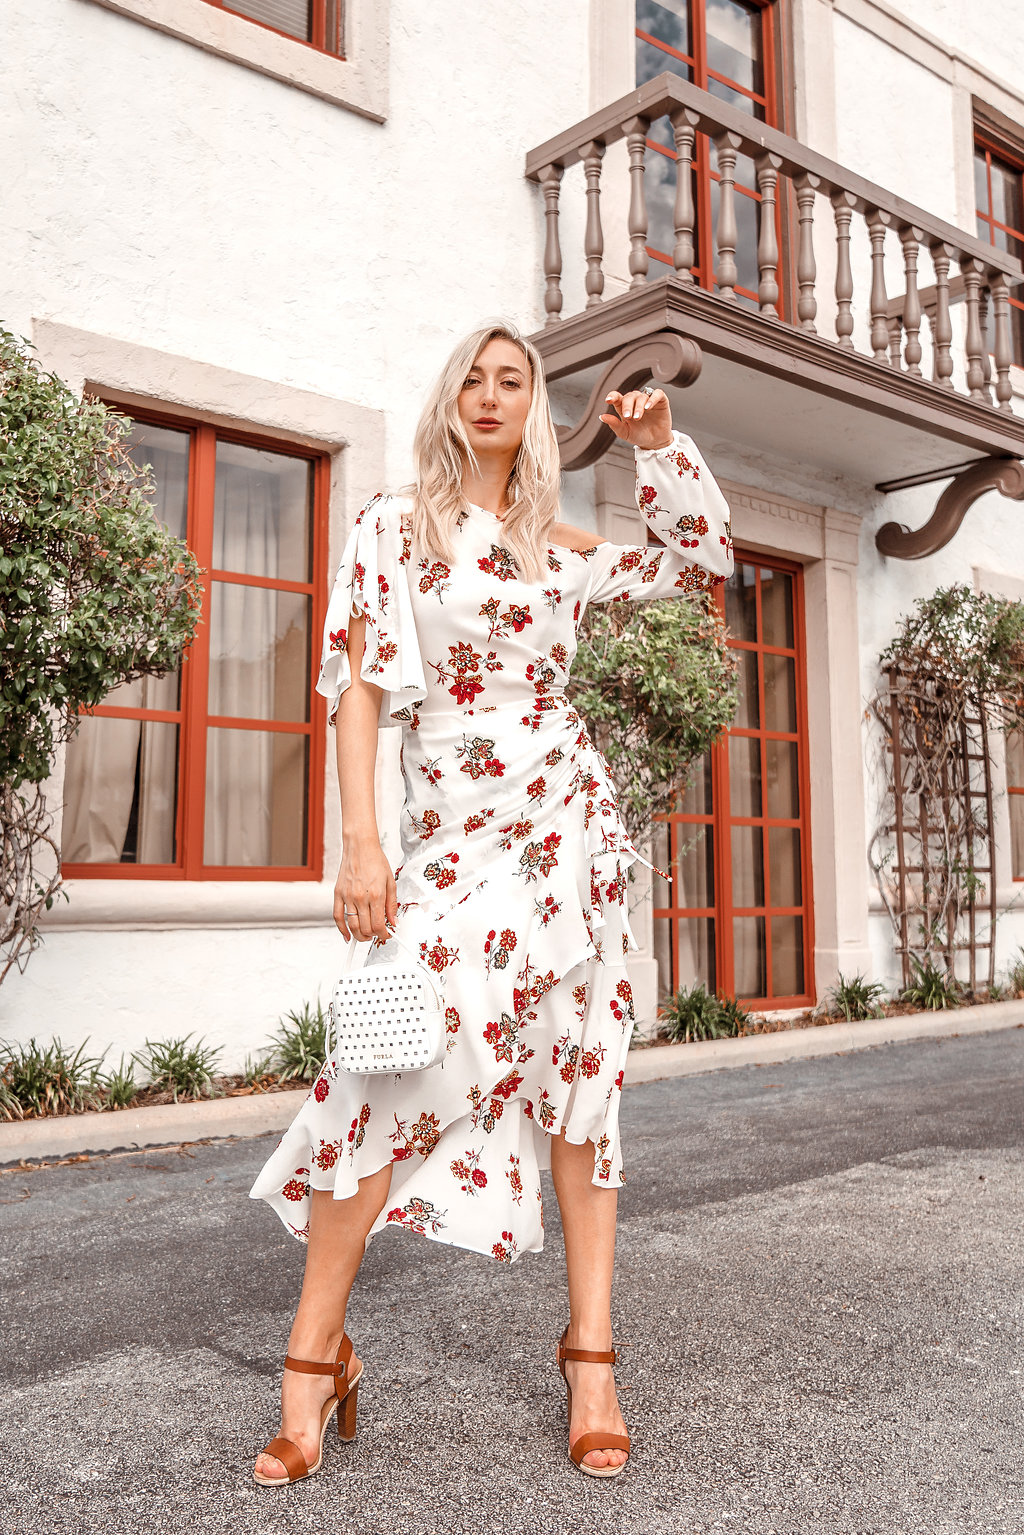
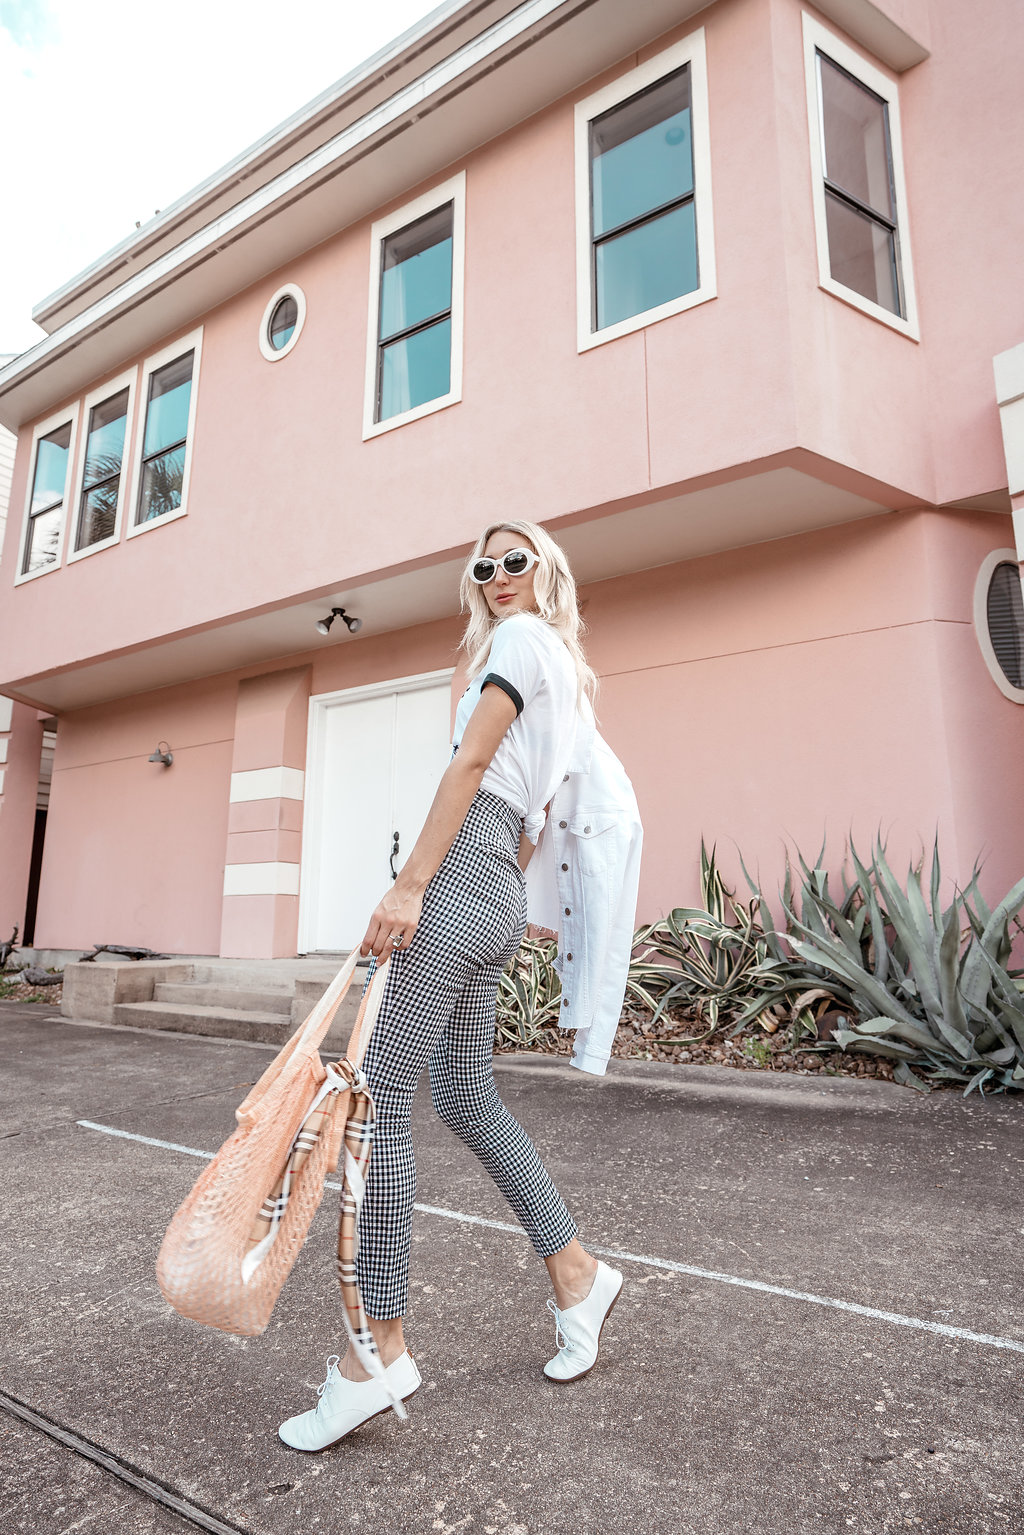
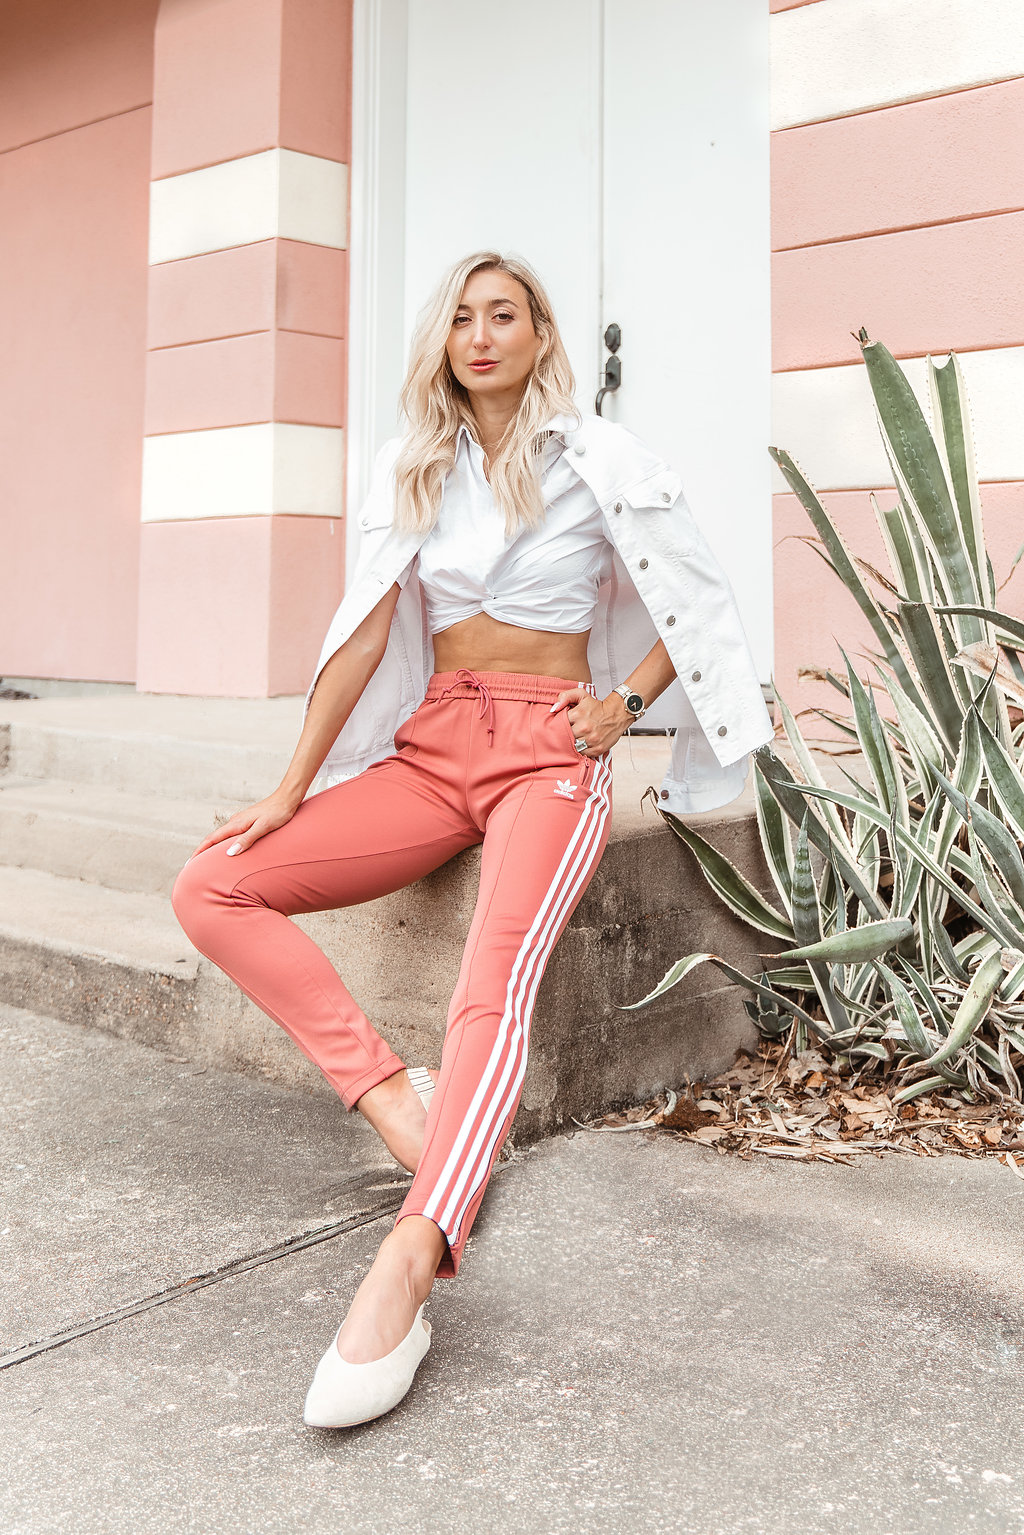
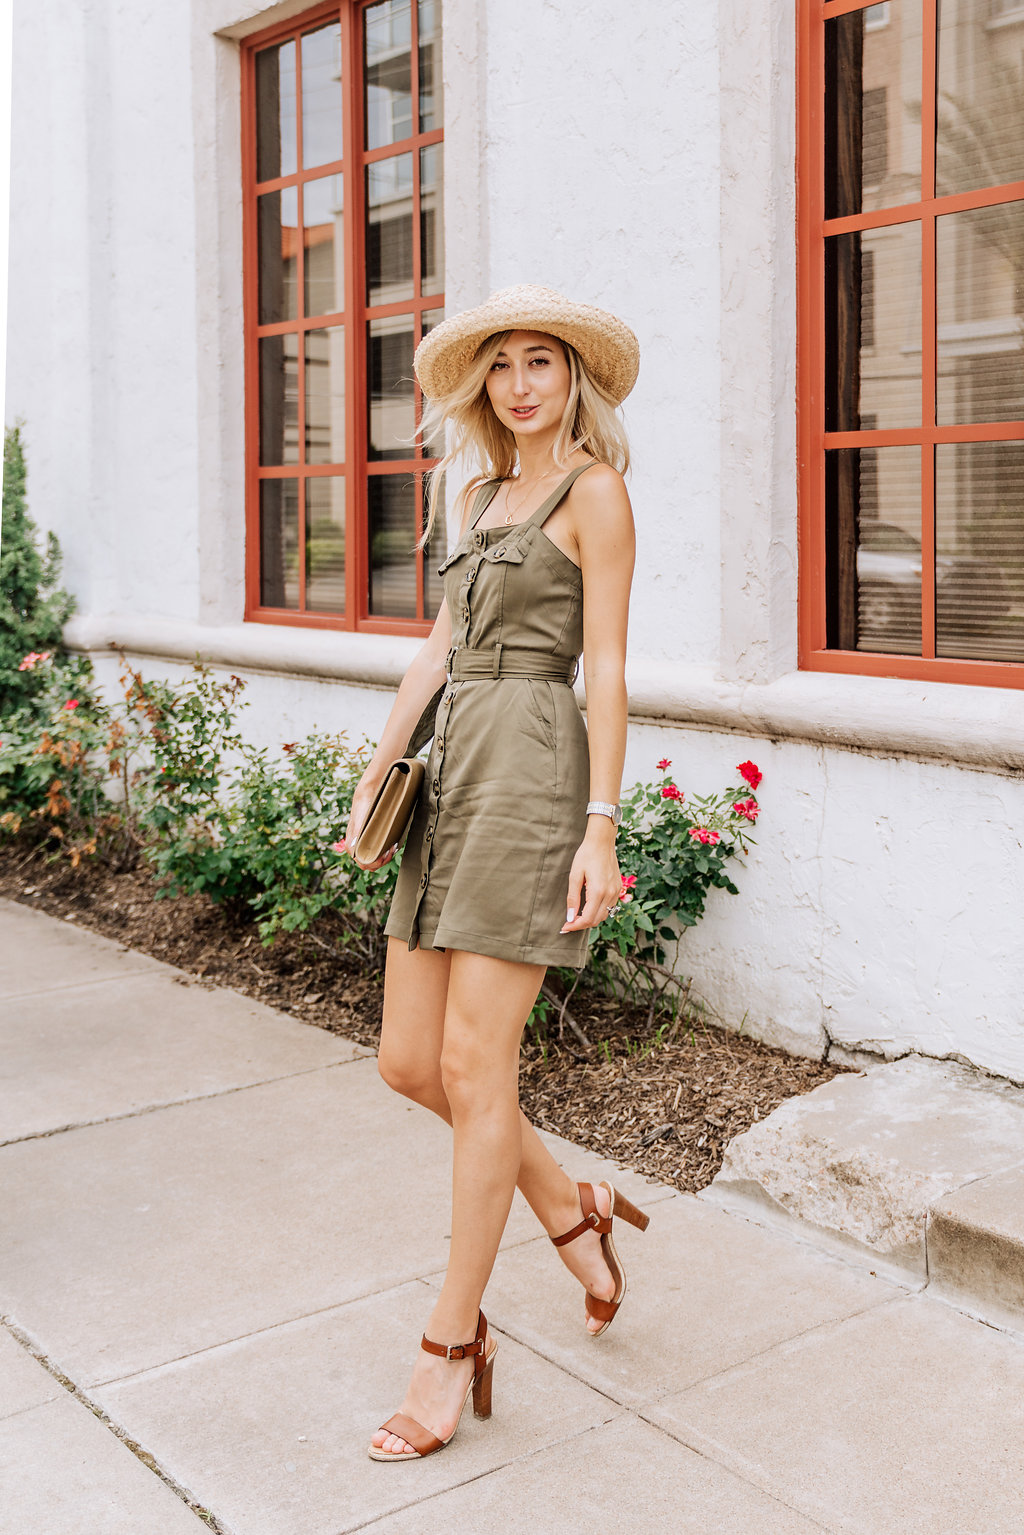
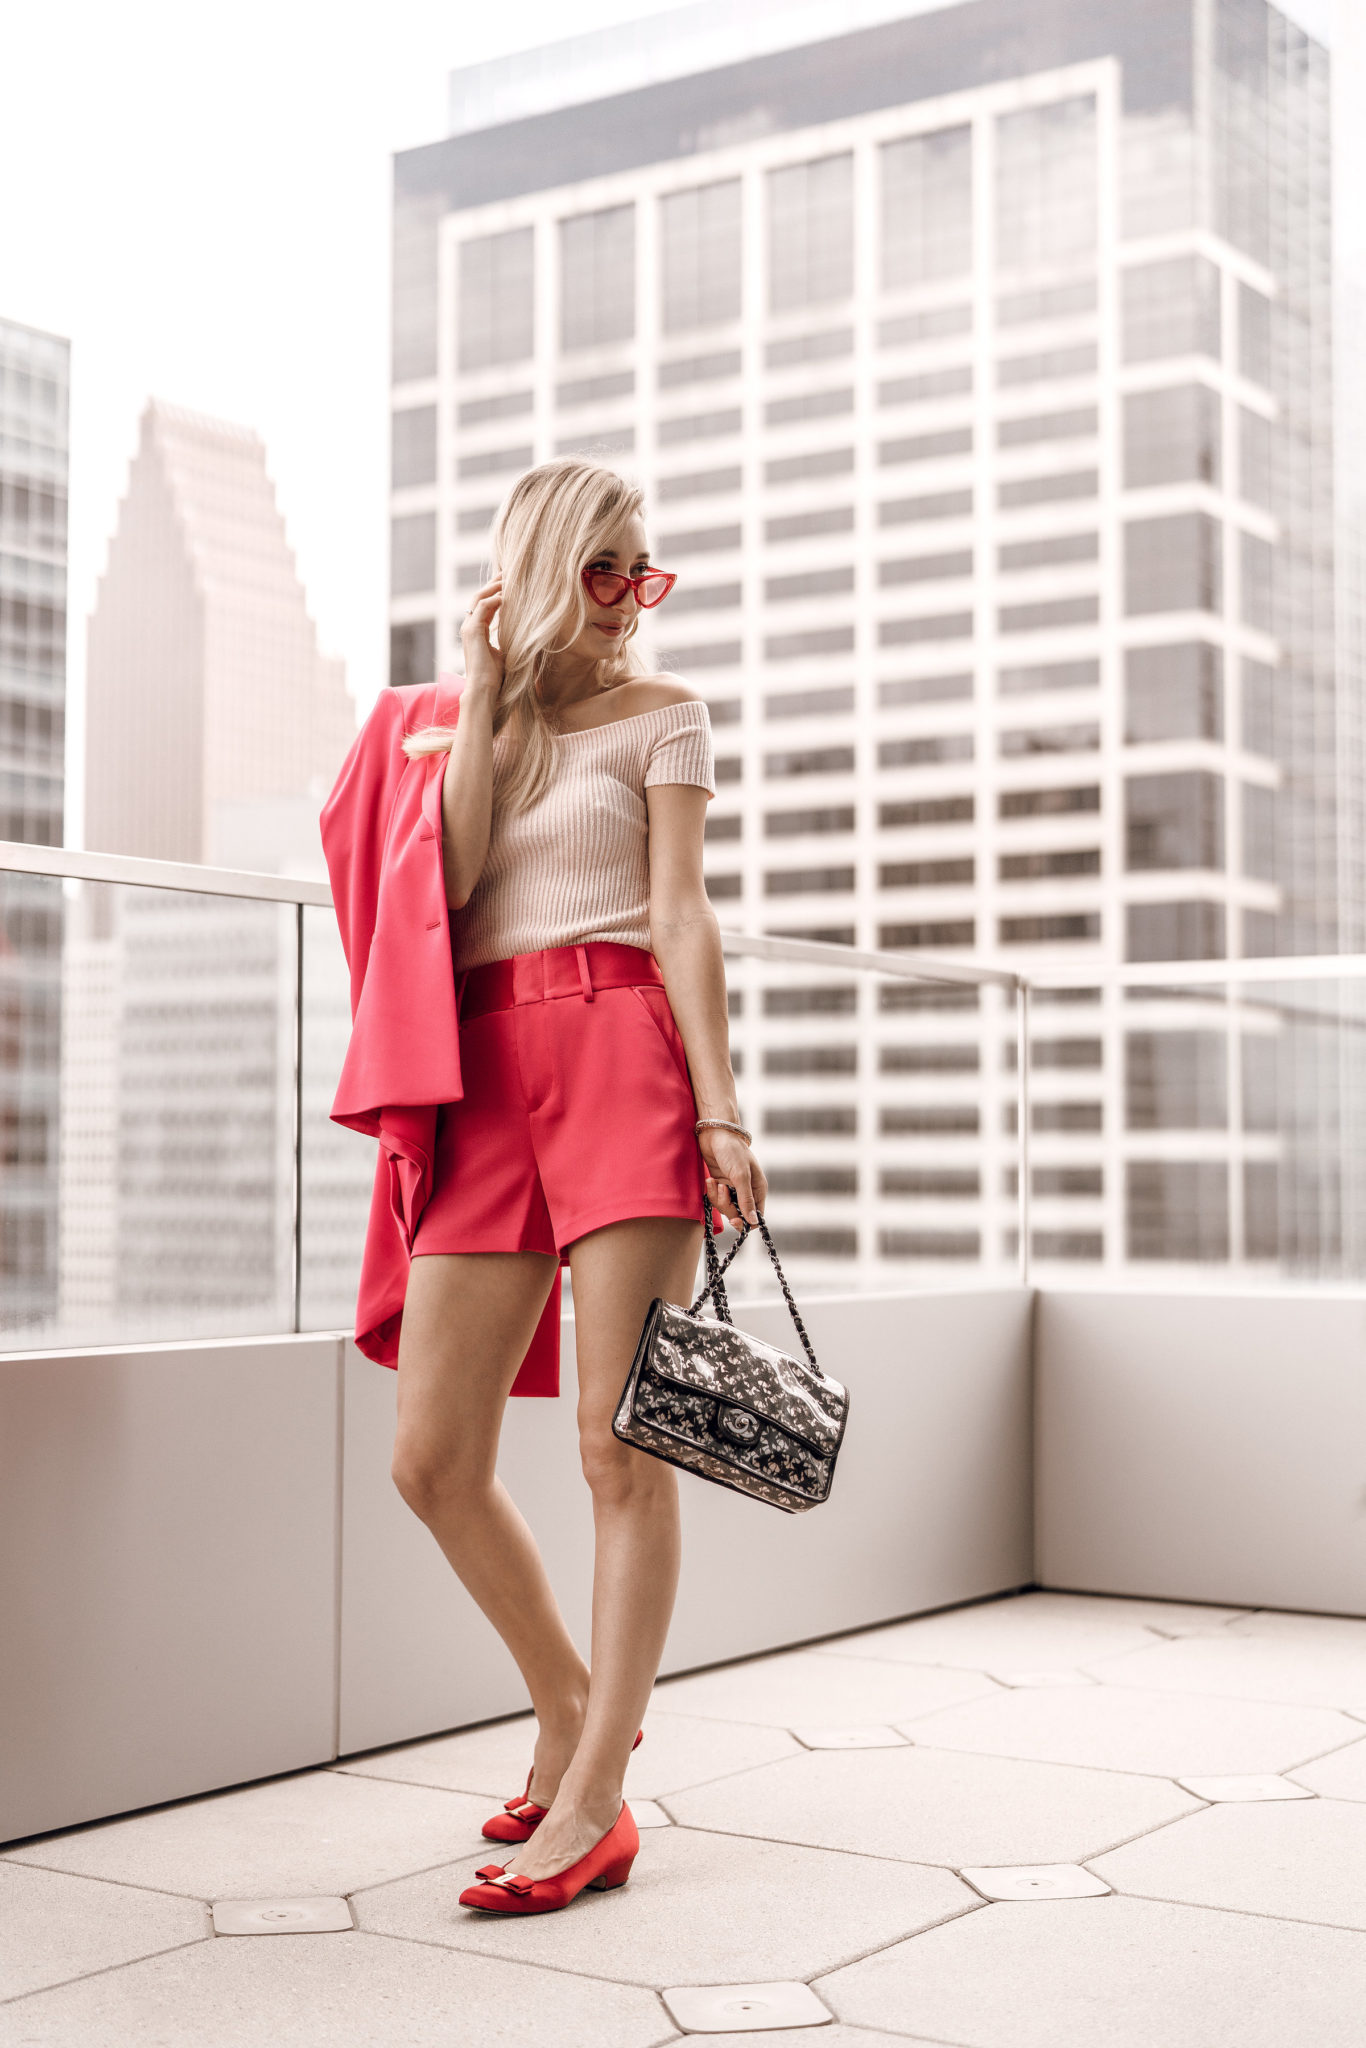
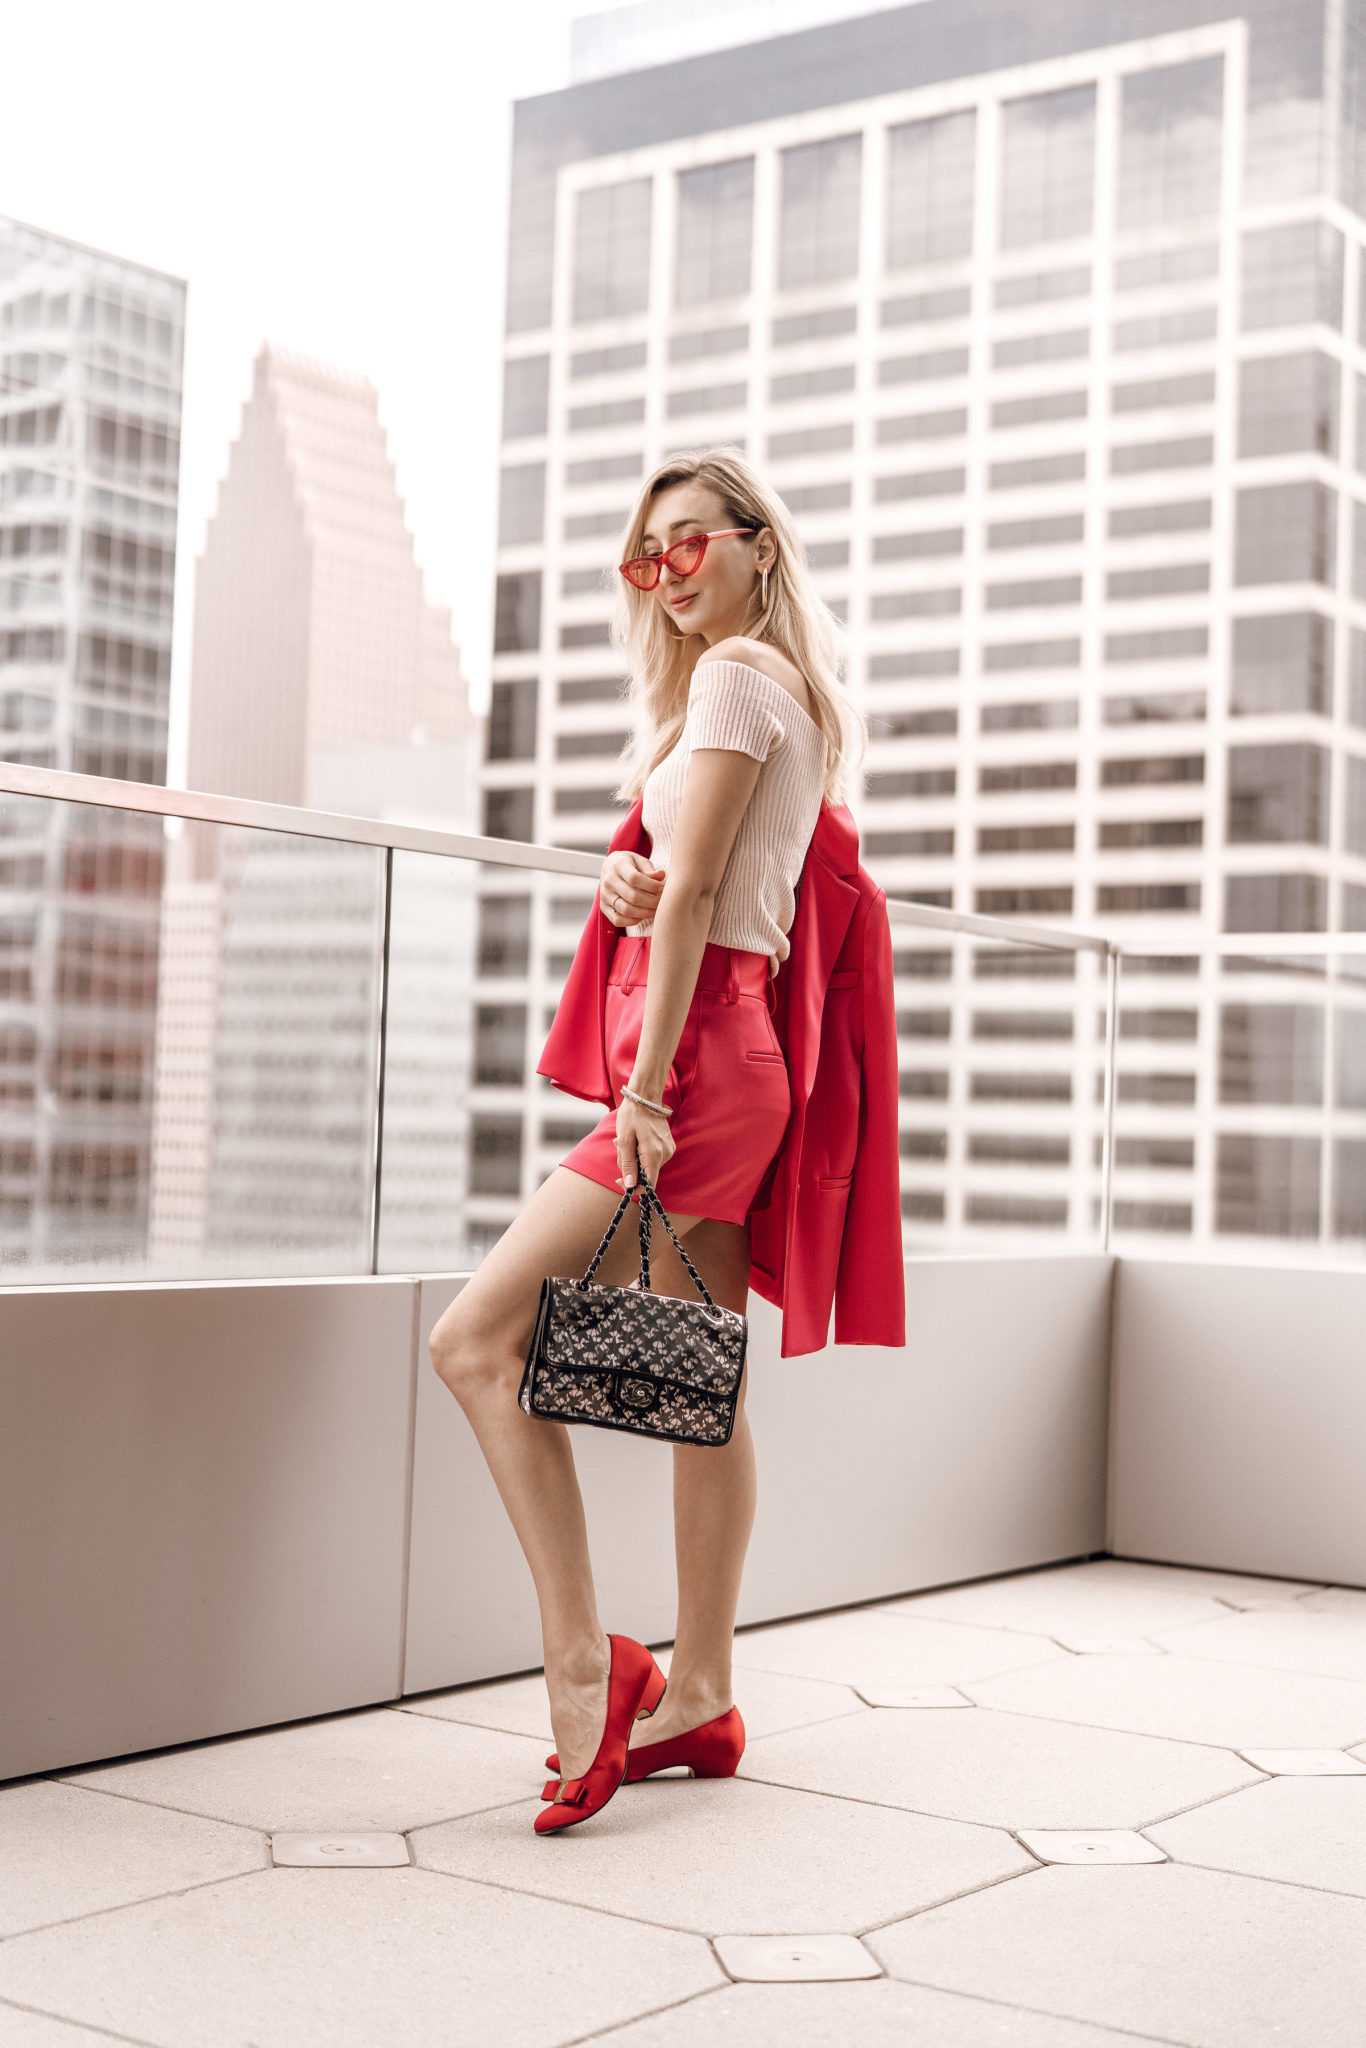
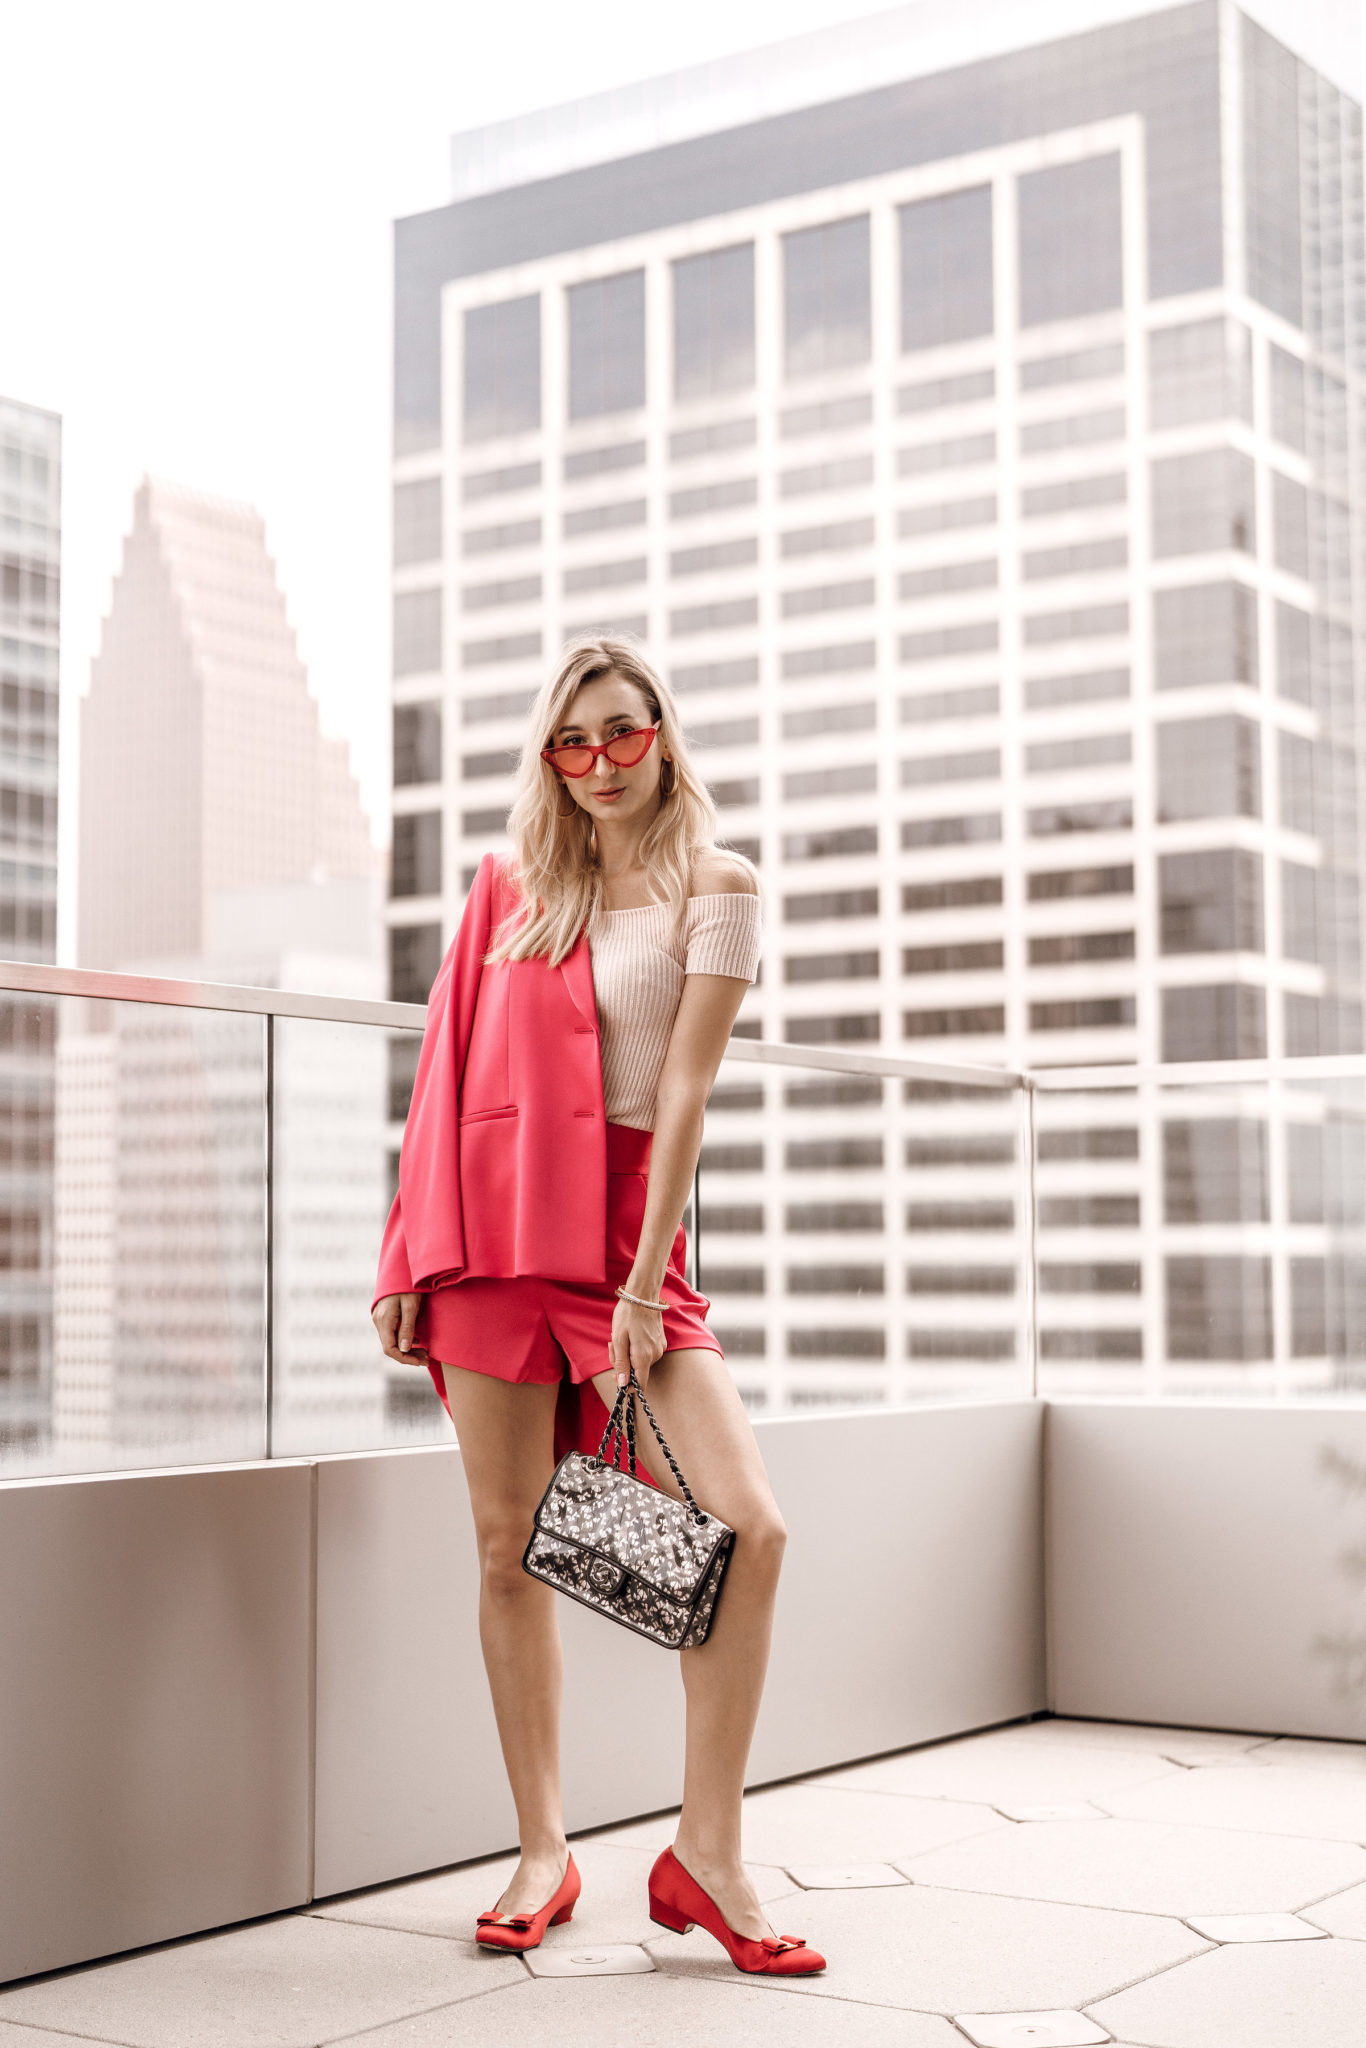
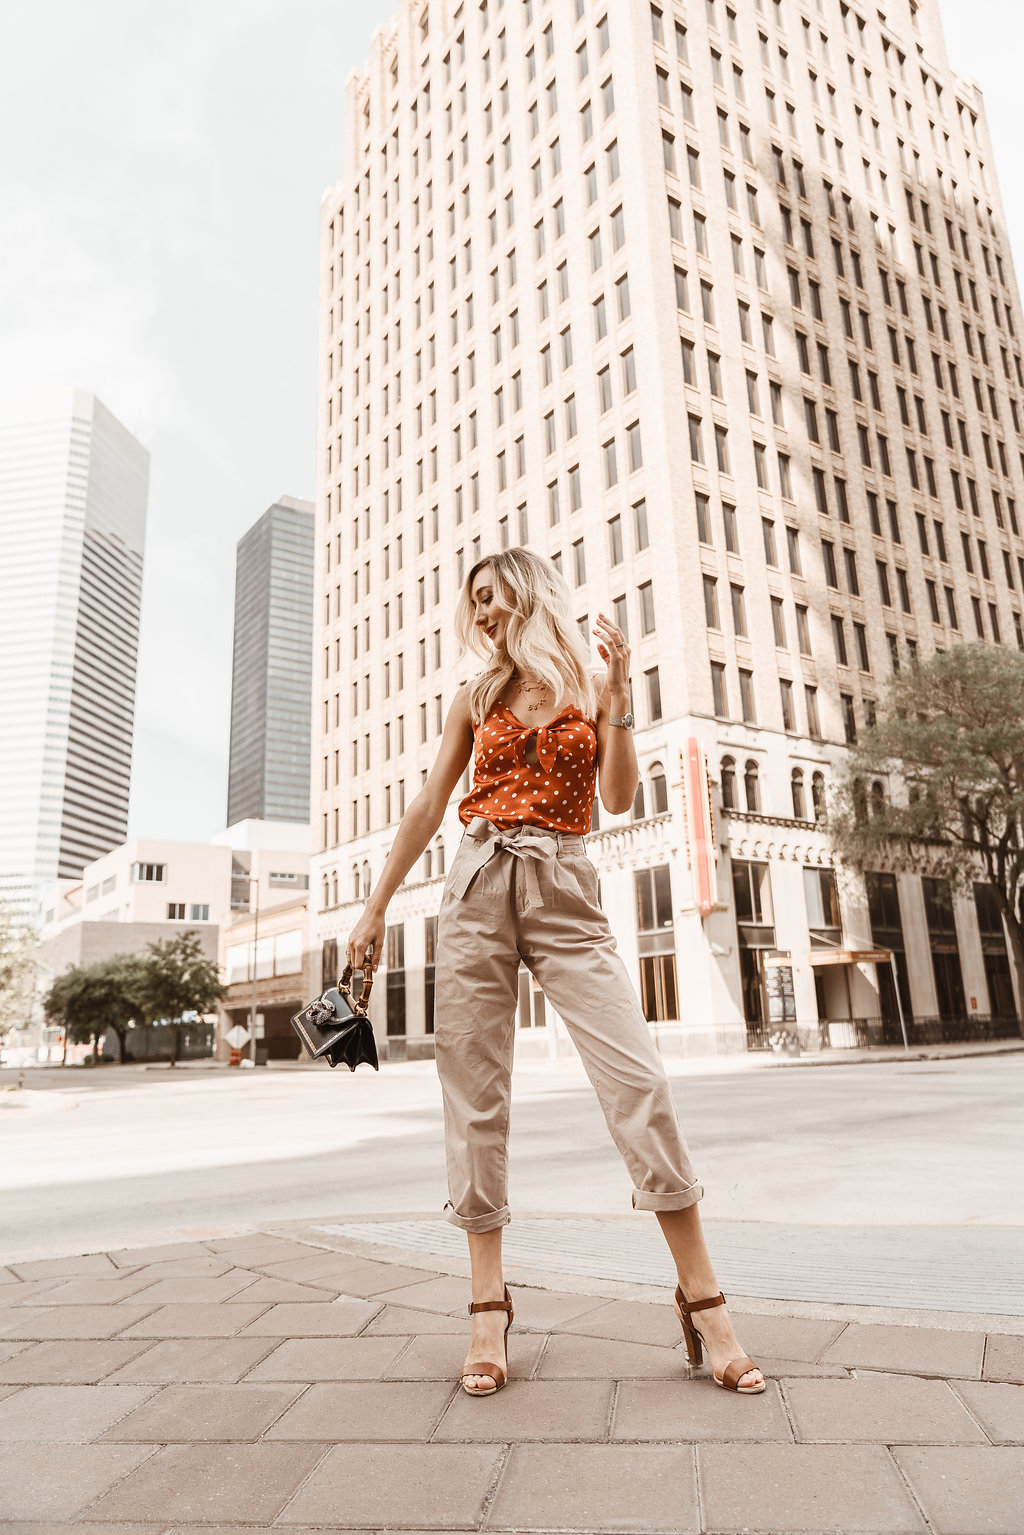
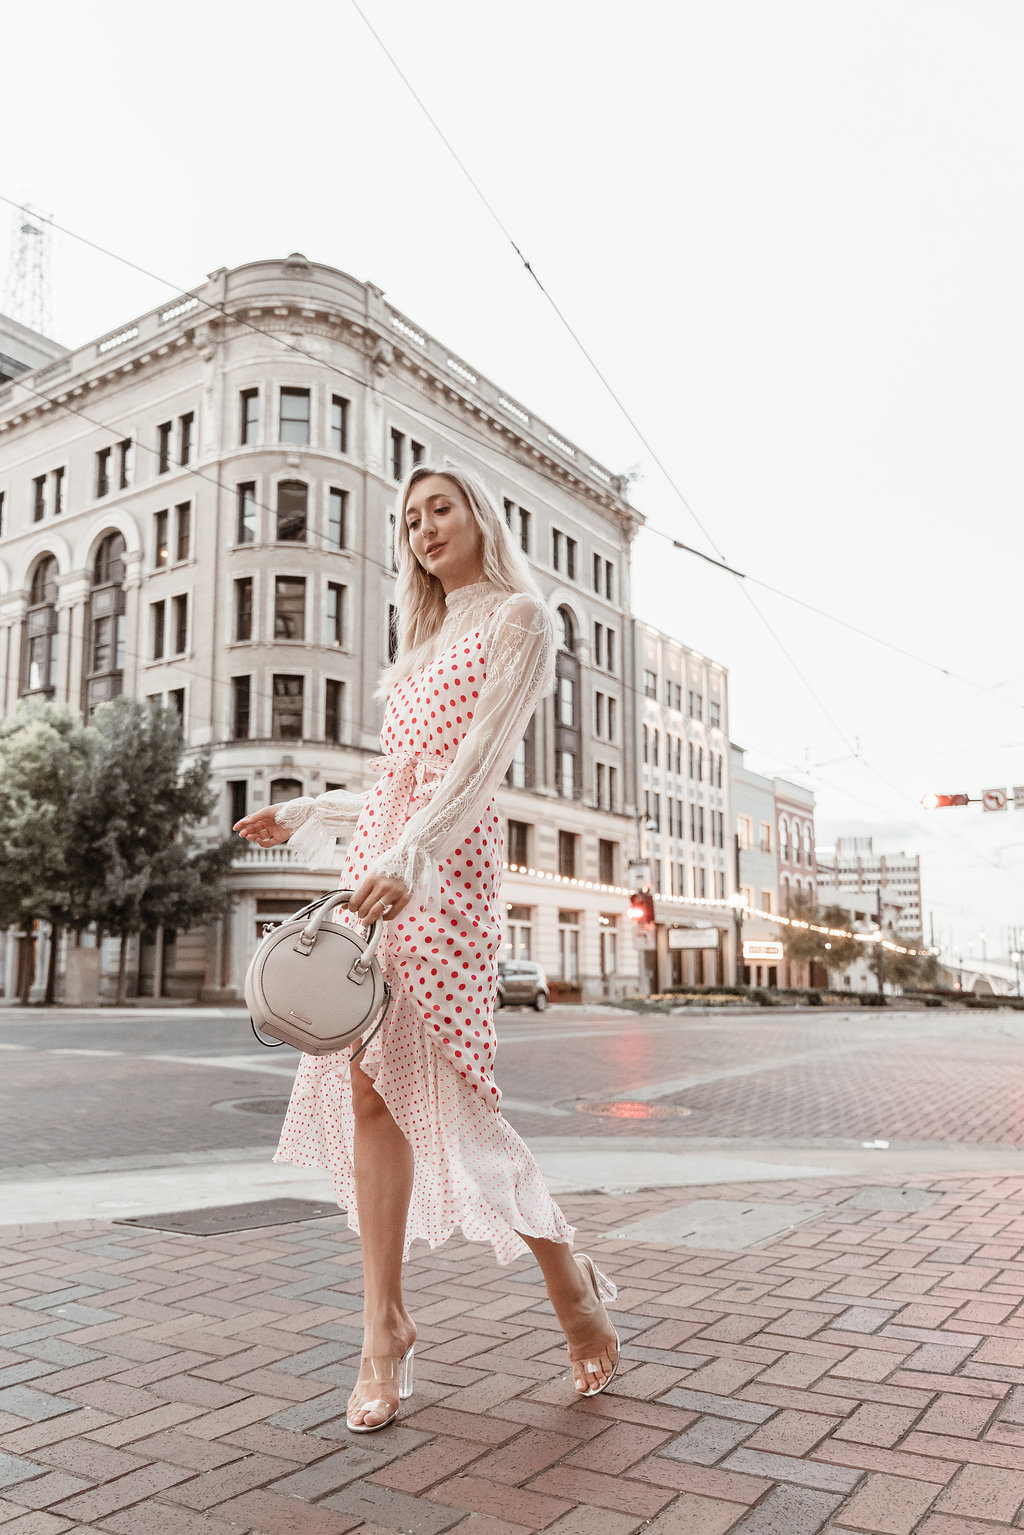
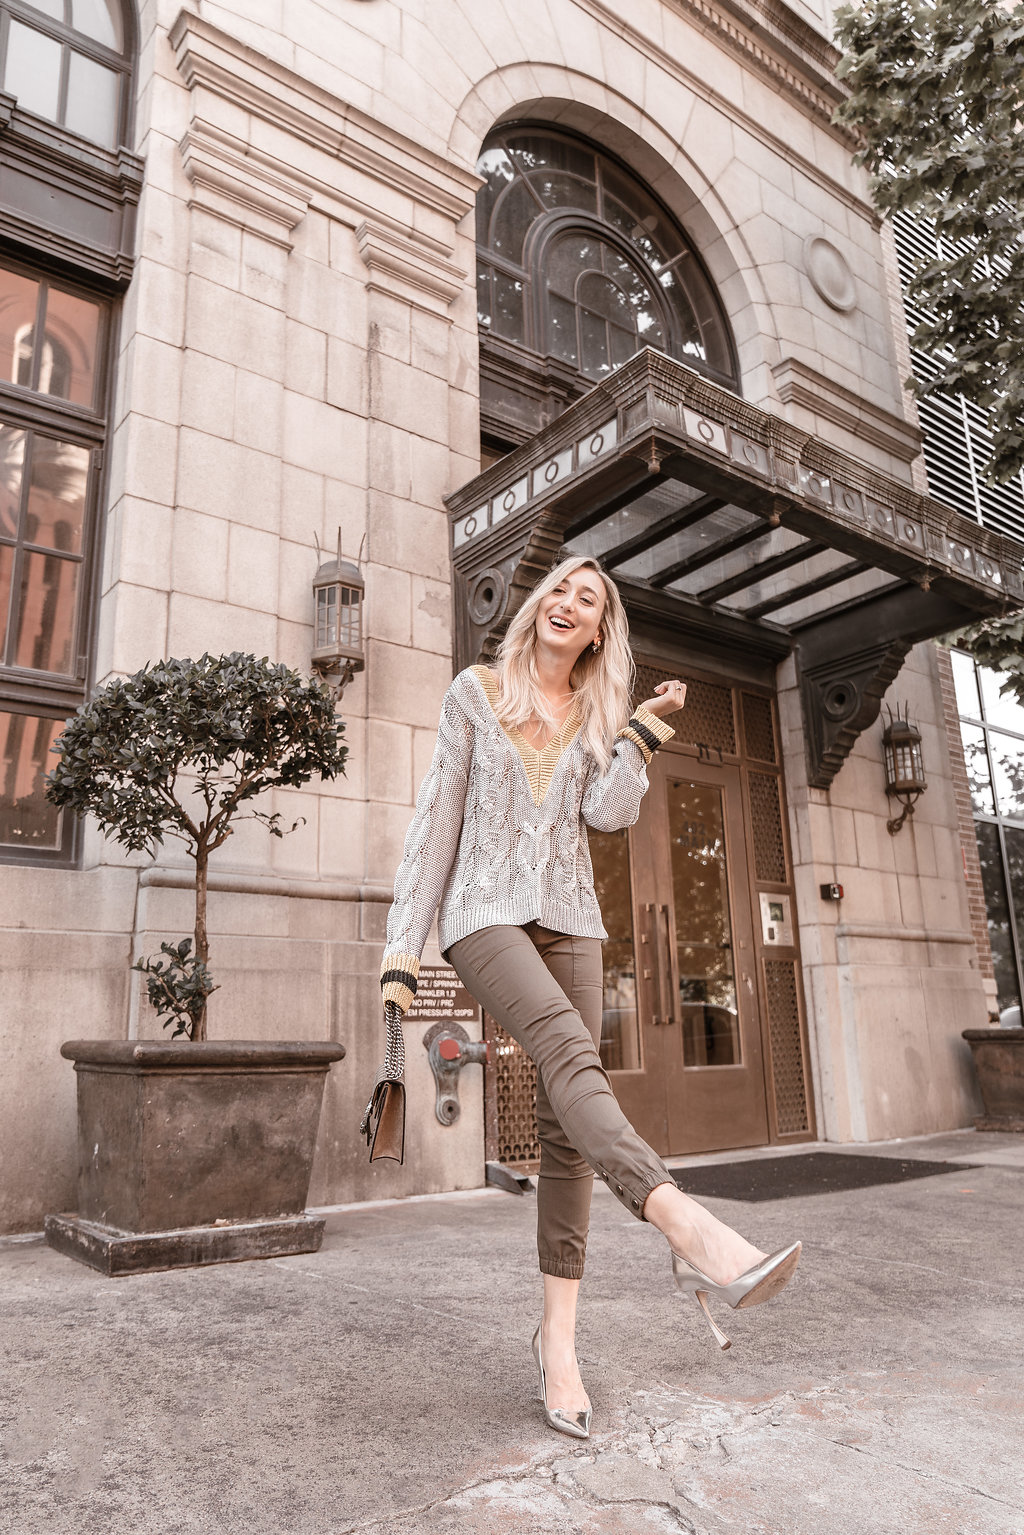
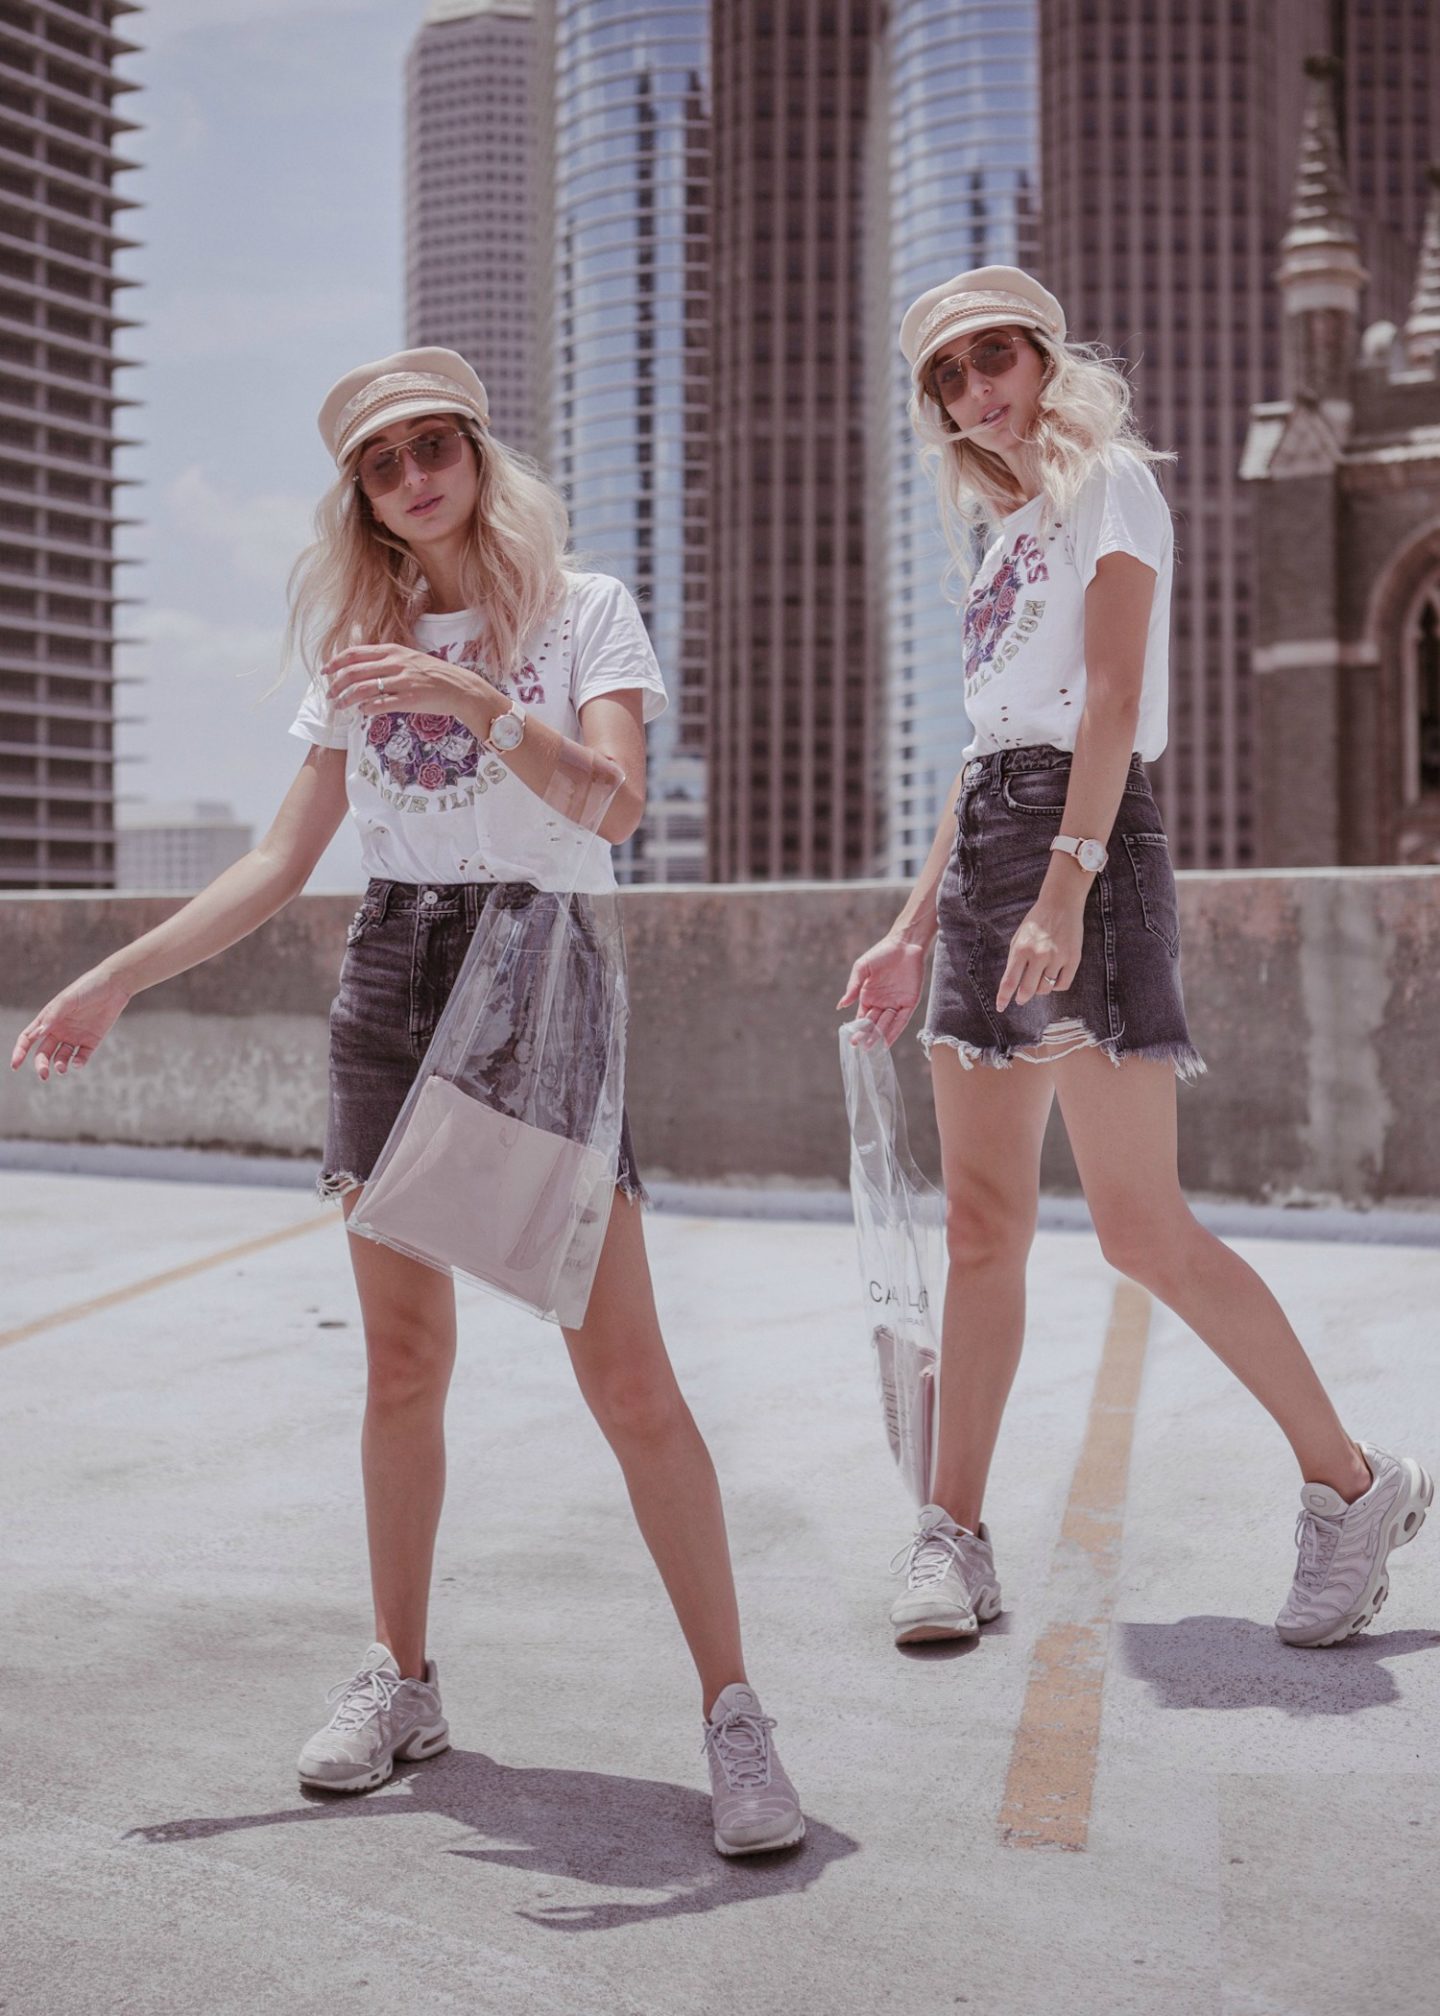
 One of my most requested topics! Posing! If being present on your IG or blog is your job knowing how to pose for your images is so important. I’m sharing the process that helps me when shooting looks for my blog and Instagram.
- Where is the Camera?
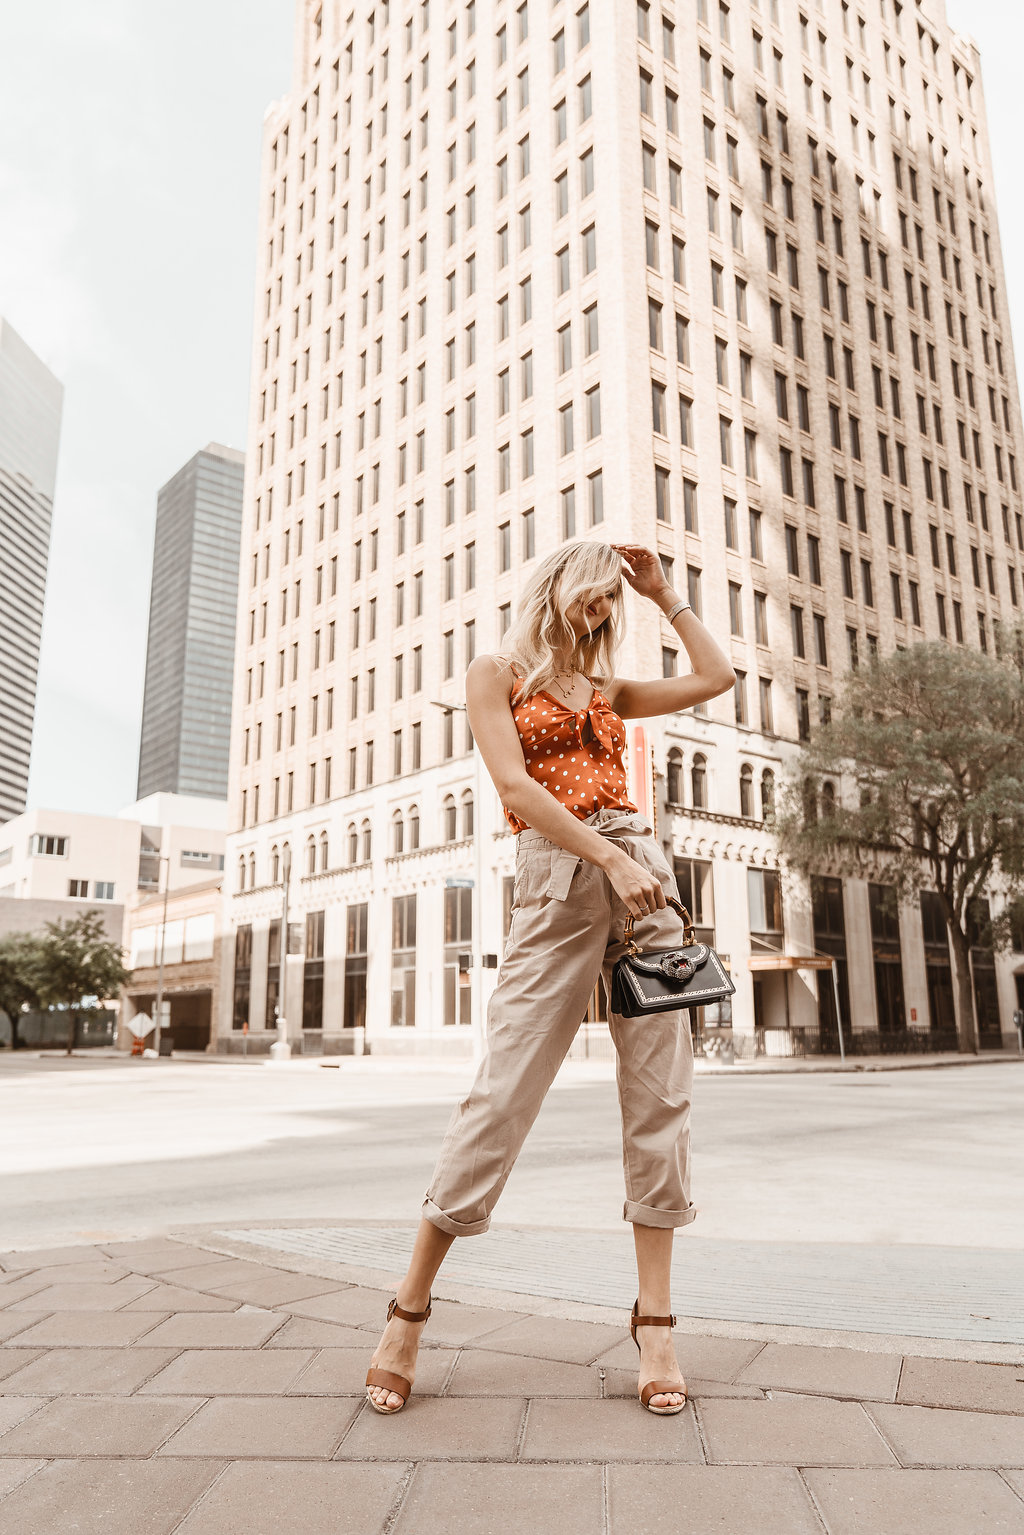
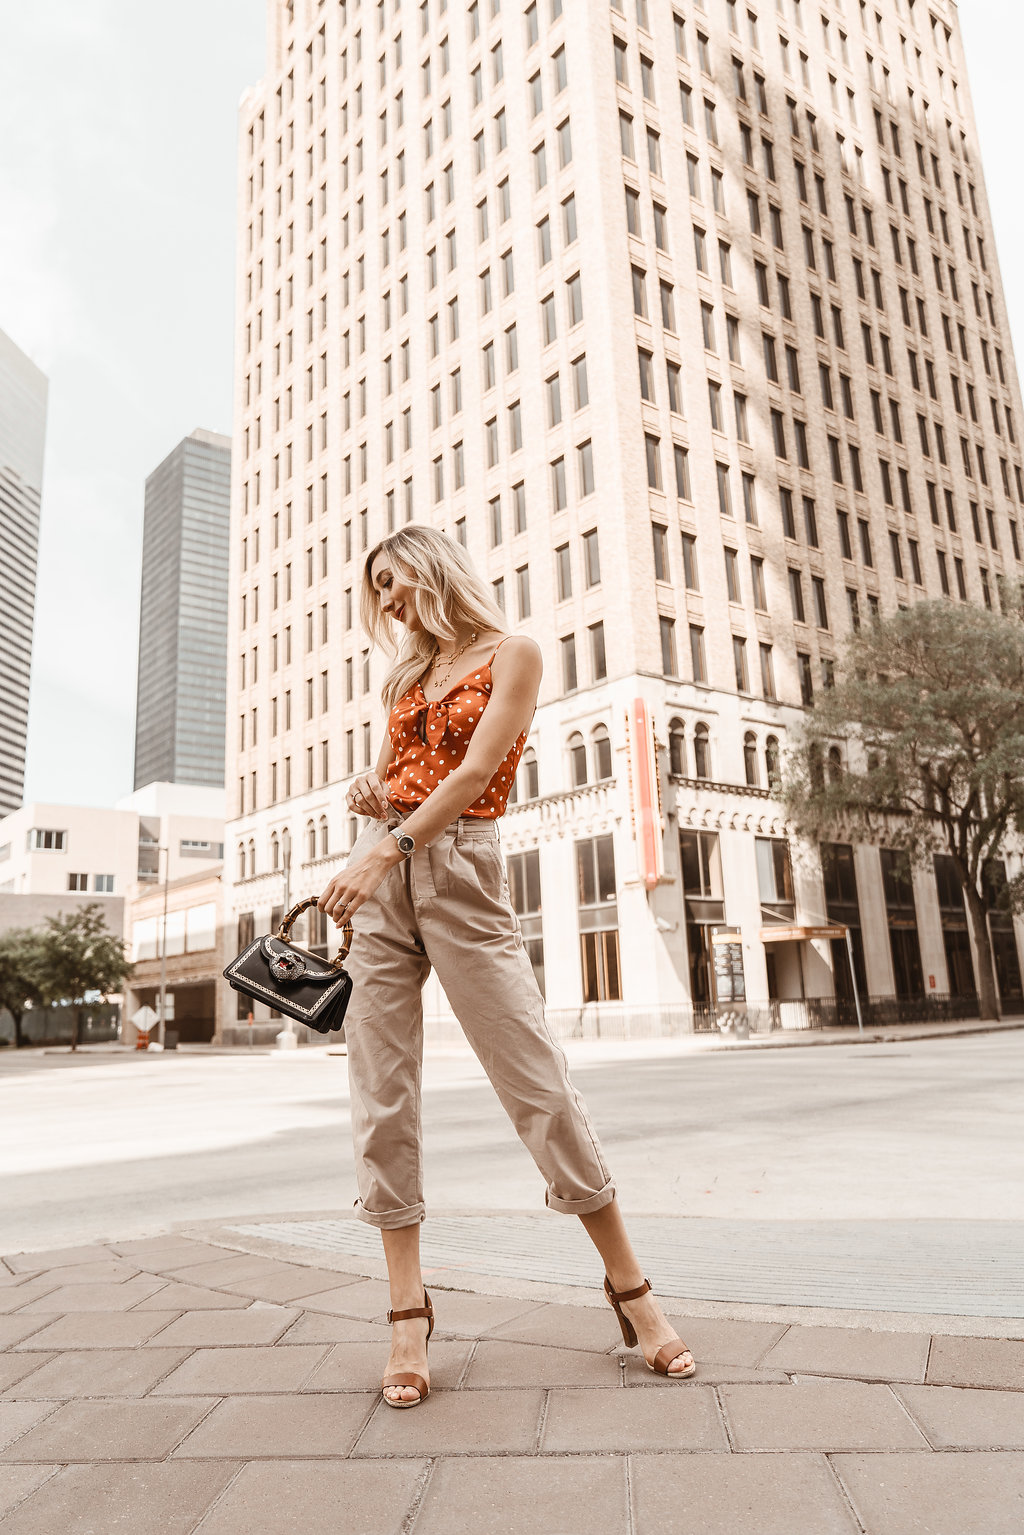
Know what the camera is doing. Placement of the camera changes how you should move or position yourself. The part of your body you place closer to the lens will end up looking bigger. If your photographer is shooting down on you will appear shorter but will make your waist smaller. Shooting from a lower angle will elongate your body but potentially make you look more square. Take a few test shots to see what’s going on and then make the needed adjustments for you. I am very particular about my body placement, maybe its all the years of ballet!?
You should take into consideration the subliminal message you are sending you the audience with the angle placement. If the audience is looking down on you in terms of camera placement the image in invoking: friendliness, submission, ease, youth, openness etc.. When the subject is photographed from a lower angle it’s a powerful perspective thus making the audience “look up” that image invokes confidence, dominance, potentially aloofness and unattainability.
2. Macro Movements:
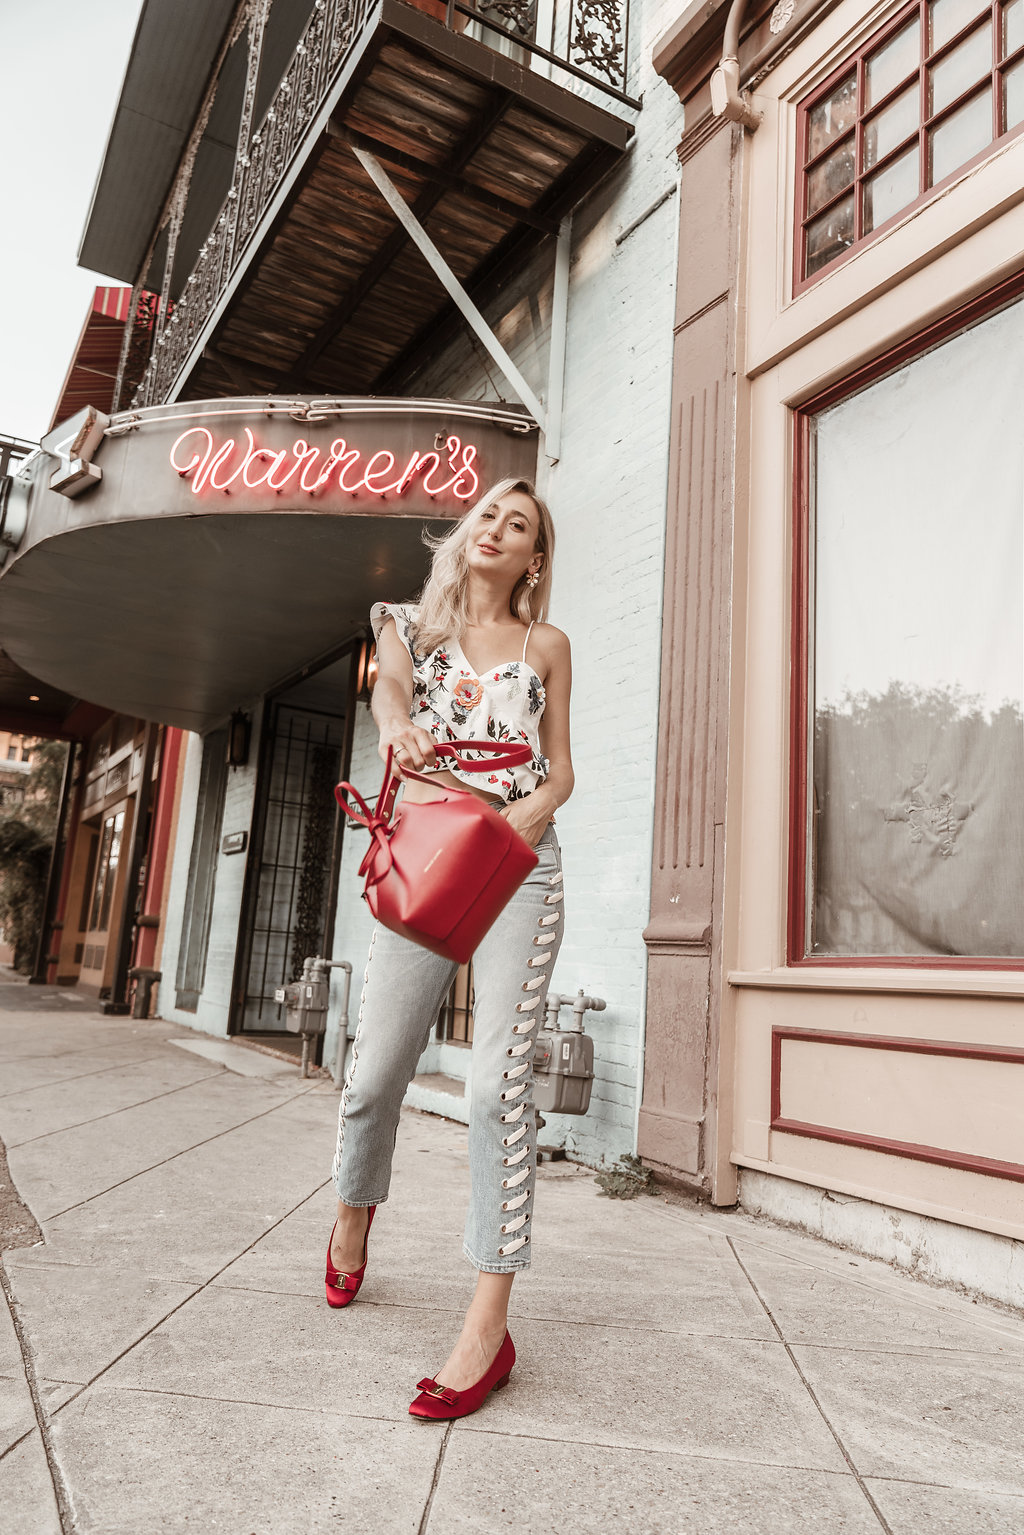
What is your whole body doing? Where are your head, arms, shoulders legs, feet etc in relation to the rest of your body? What is working? What isn’t? If something isn’t working don’t waste time trying to fix it, move on to the next pose. Which brings us into your repertoire.
3. Have a repertoire:
Have 3-4 solid poses you feel good about and know you will be happy with/ you need to capture (Pinterest and IG are great sources of inspiration if you need it). After you shoot those 4 poses with your photographer and are happy with them you can experiment off of your four standard poses. This takes us into Micromovements …
4. Micro Movements:
When you find the pose that is WEERRRRKKKING (hopefully your photographer will clue you in with a YAAASSSS like mine does) it’s the time to make the most of it! Instead of holding perfectly still try to make small adjustments- micro movements. Move your chin, eyes, hand, arm placement, head, FINGERS, give yourself variation to choose from later. You might almost feel like a robot or pop-locker. You don’t want to look back on the roll and have 10 of the same shot. Total waste!
5. Know. Your. Angles:
So there are general poses and movements that work for some people and not for others and vice versa. Know what works for YOU. Nobody knows you like you know you. Study yourself in the mirror, experiment with movement and posing, in front of the mirror. Ballet dancers do it, models do it, you can do it too. Don’t feel silly of self-conscious about practicing. Everyone practices their craft. If this is yours it’s a must.
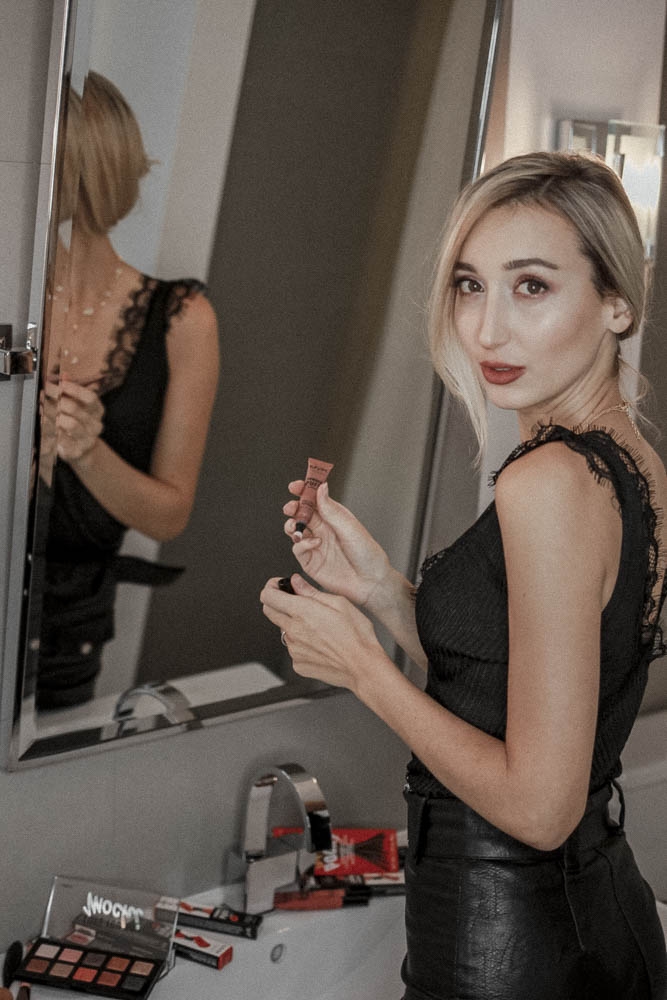
6. Timing:
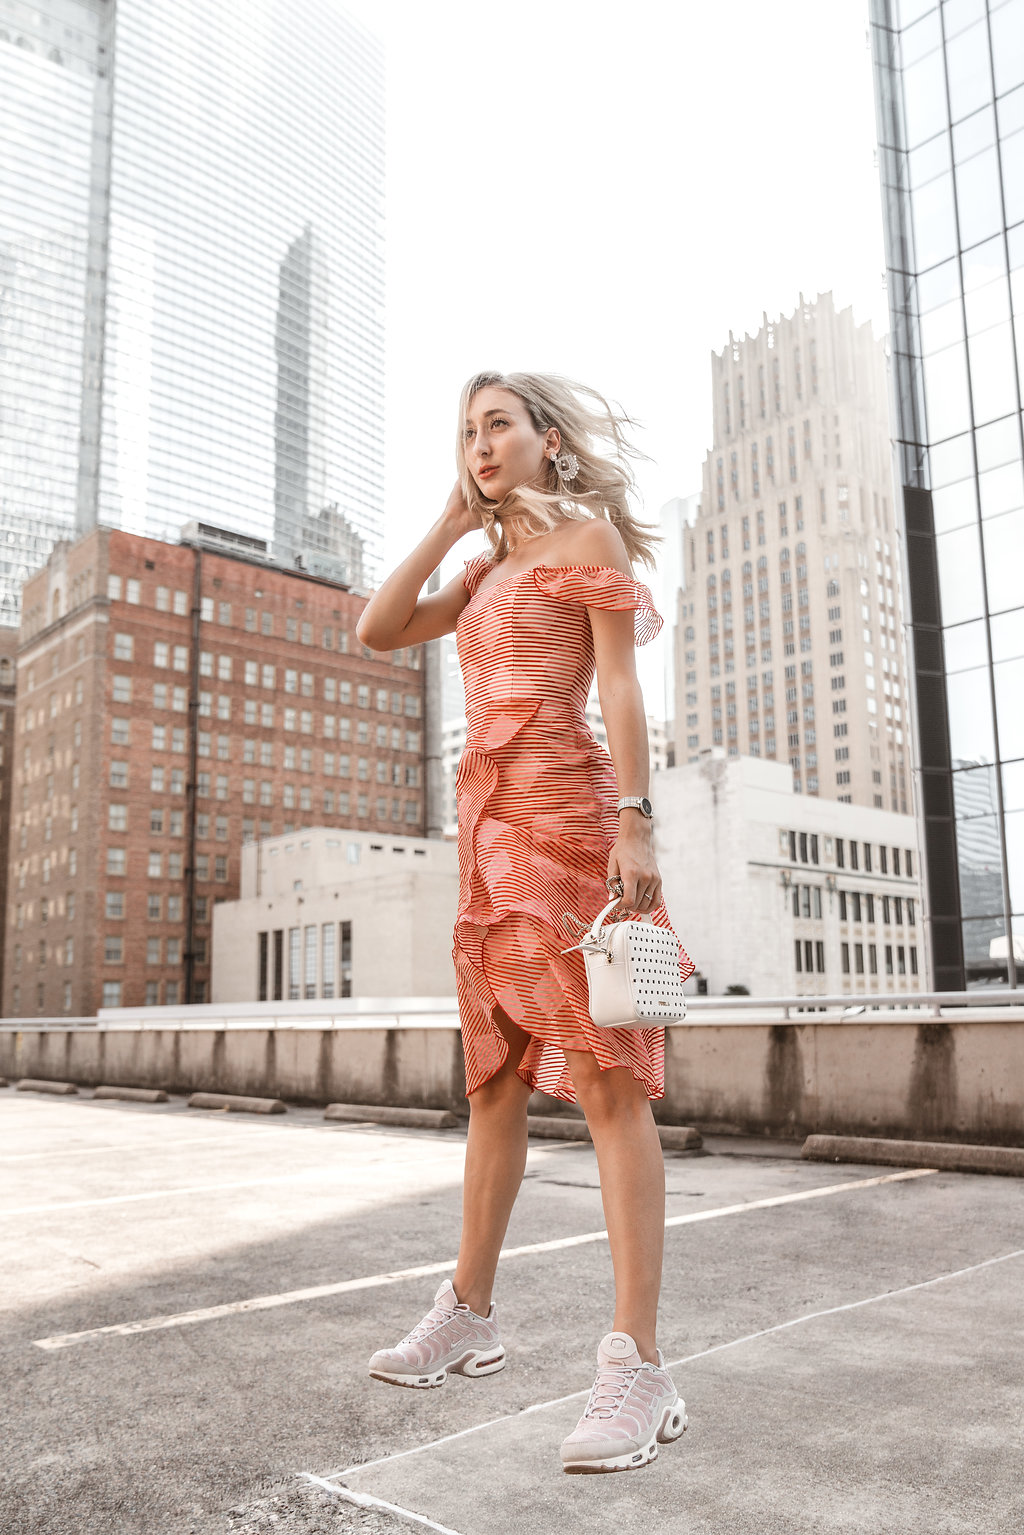
Hearing when the camera goes off during a shoot helps me so much! I know that after I hear the camera snap the picture I can make a small adjustment for the next picture. This helps in nailing those walking shots too. Knowing the timing of the shots you can make sure hold your stride at the right moment etc. It’s so important to be in sync with your photographer and vibe together.
